

After receiving approval from TAF and double checking with other builders it was time to install the custom made channel cover.
Because the 2 side channel skins are not identical I needed a jig to know where to drill and cut.
Jig in place:

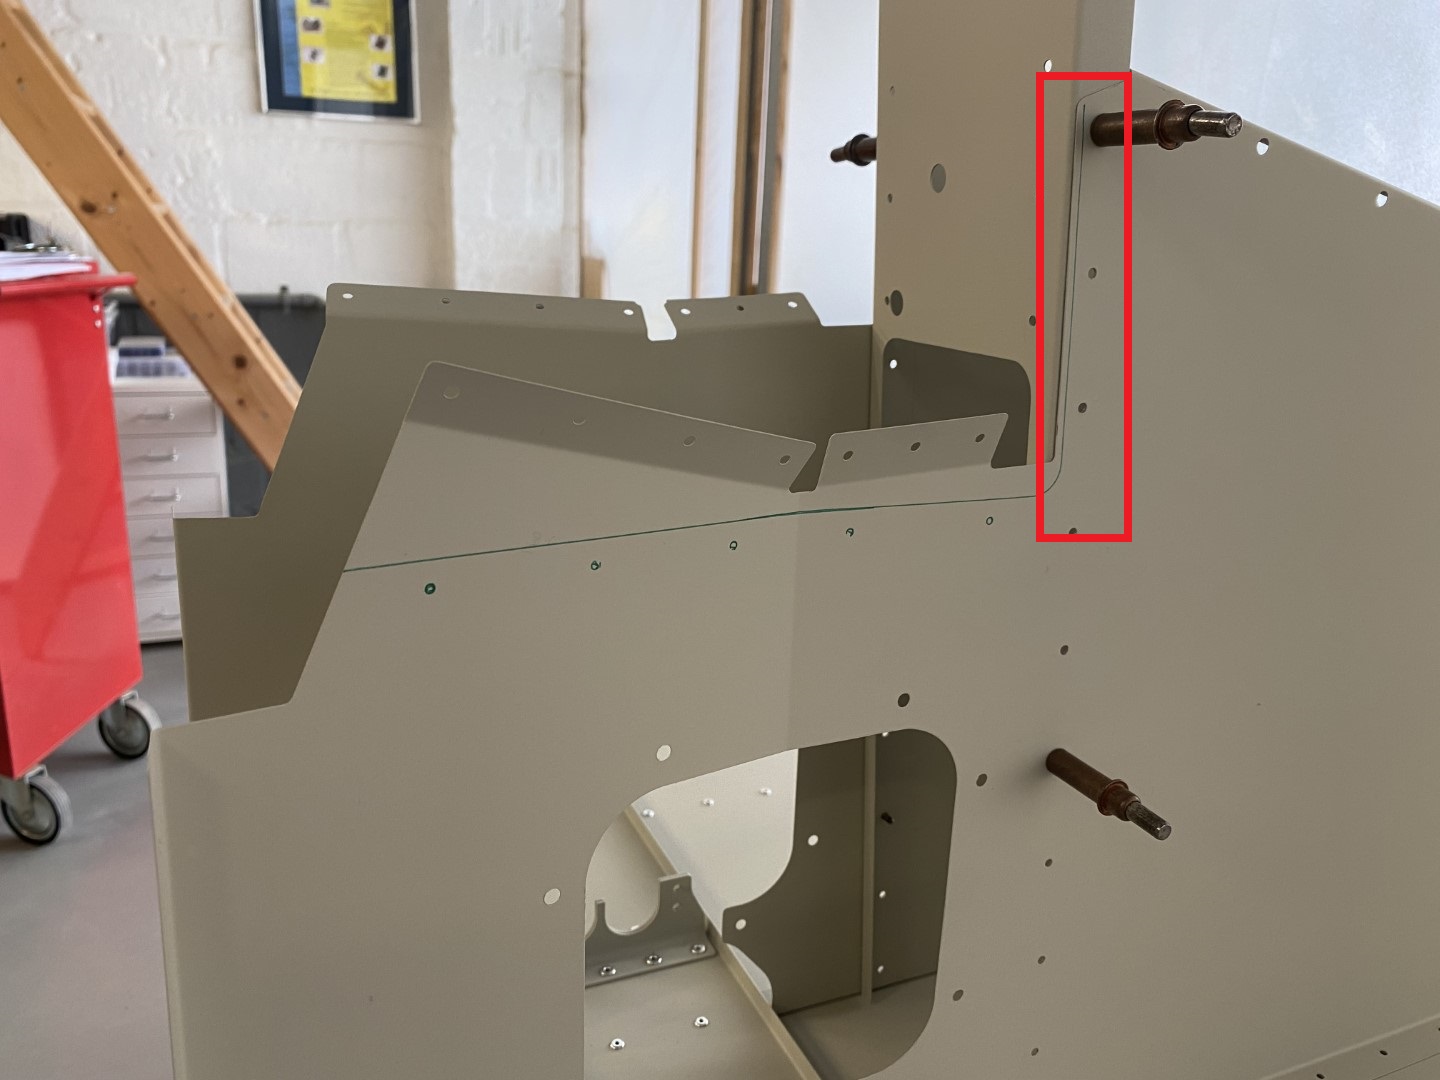
Left side needs some extra trimming at the vertical section:
Right side needs some extra trimming and the front:

Drilling holes with help of the jig:

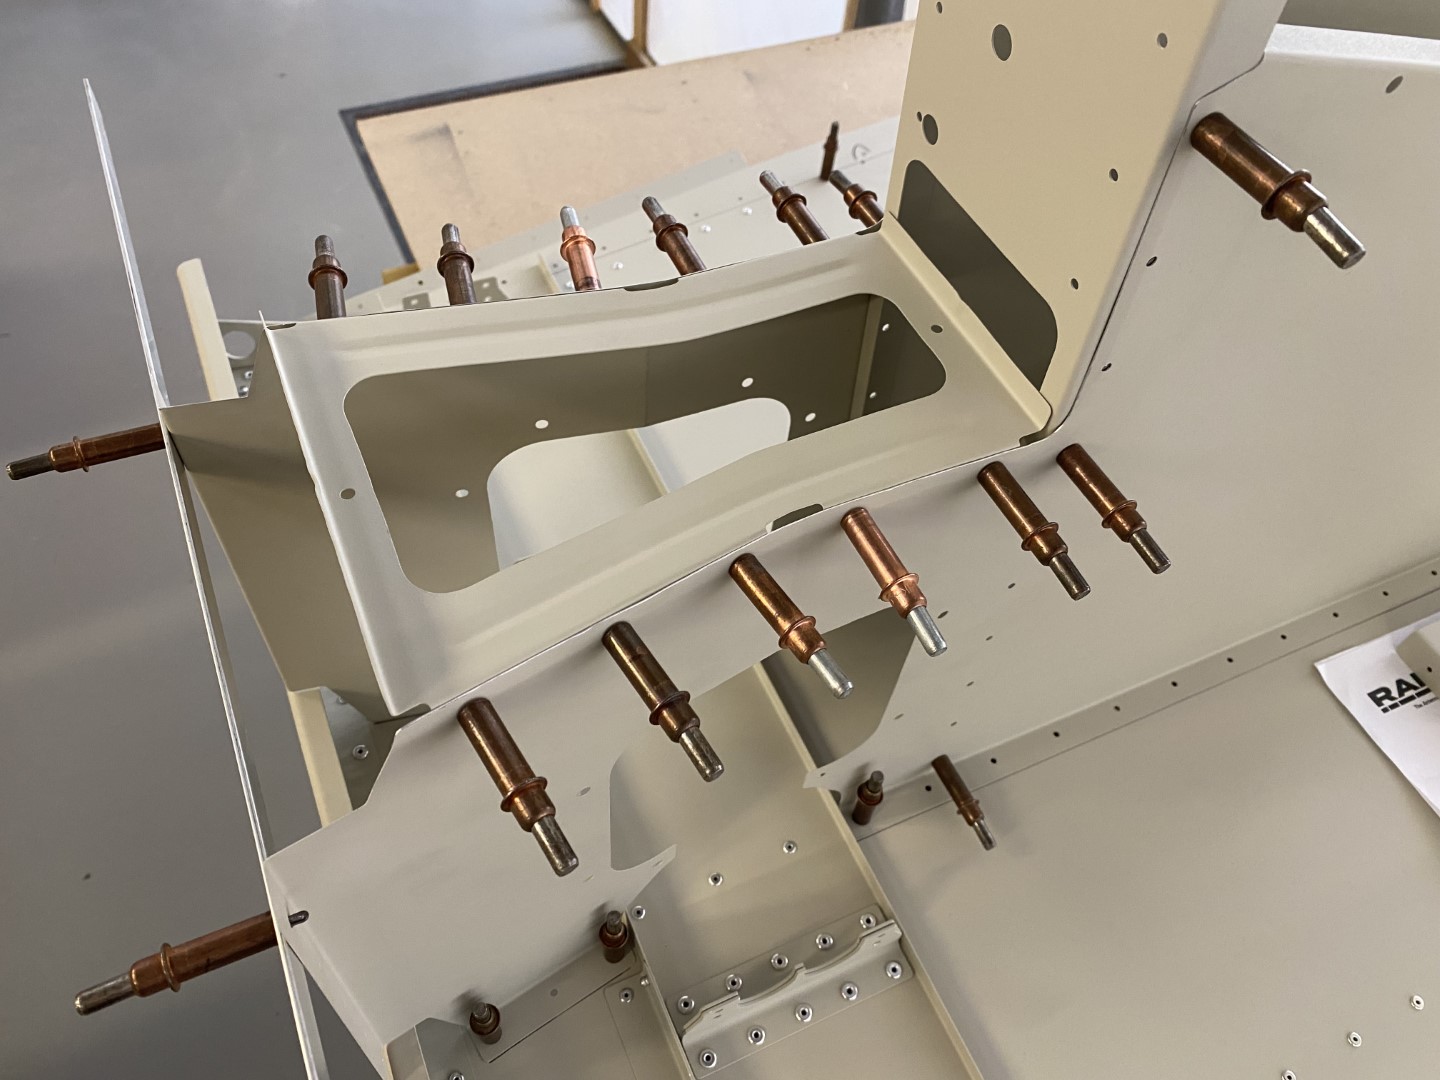
Bracket in place:

Next I removed the flanges and the trimmed the pieces so that they become identical.
This was easy with the snips, Dremel, file, sandpaper and Skotch Brite.
Final result:
A bit more smoothening is requires and also a bit of touch up with the epoxy primer.
One thought on “Installation custom made channel cover”
Comments are closed.