

The primer of the replacement rib was cured so I could finally finish the console ribs.
With a few rivets the parts were mounted together, next was the seatbelt bracket because the bolt should be in place before rivetting the bracket.
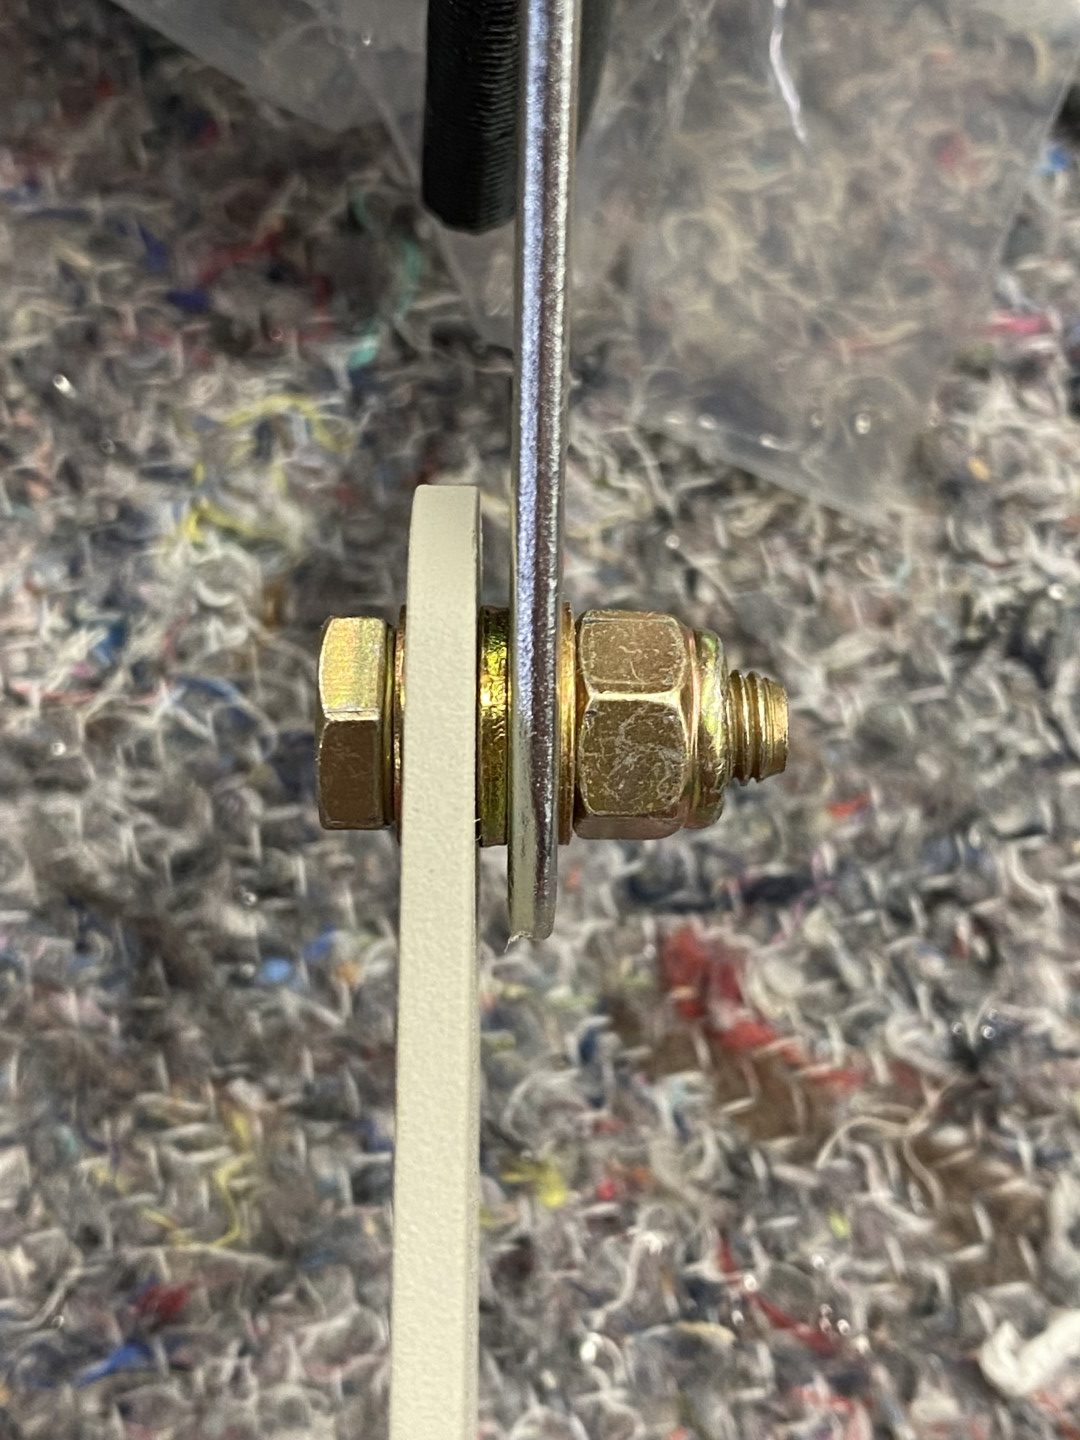
To have 1 to 3 remaining threads I used 2 thin and 1 thick washer, the bolt is an AN4-6A:
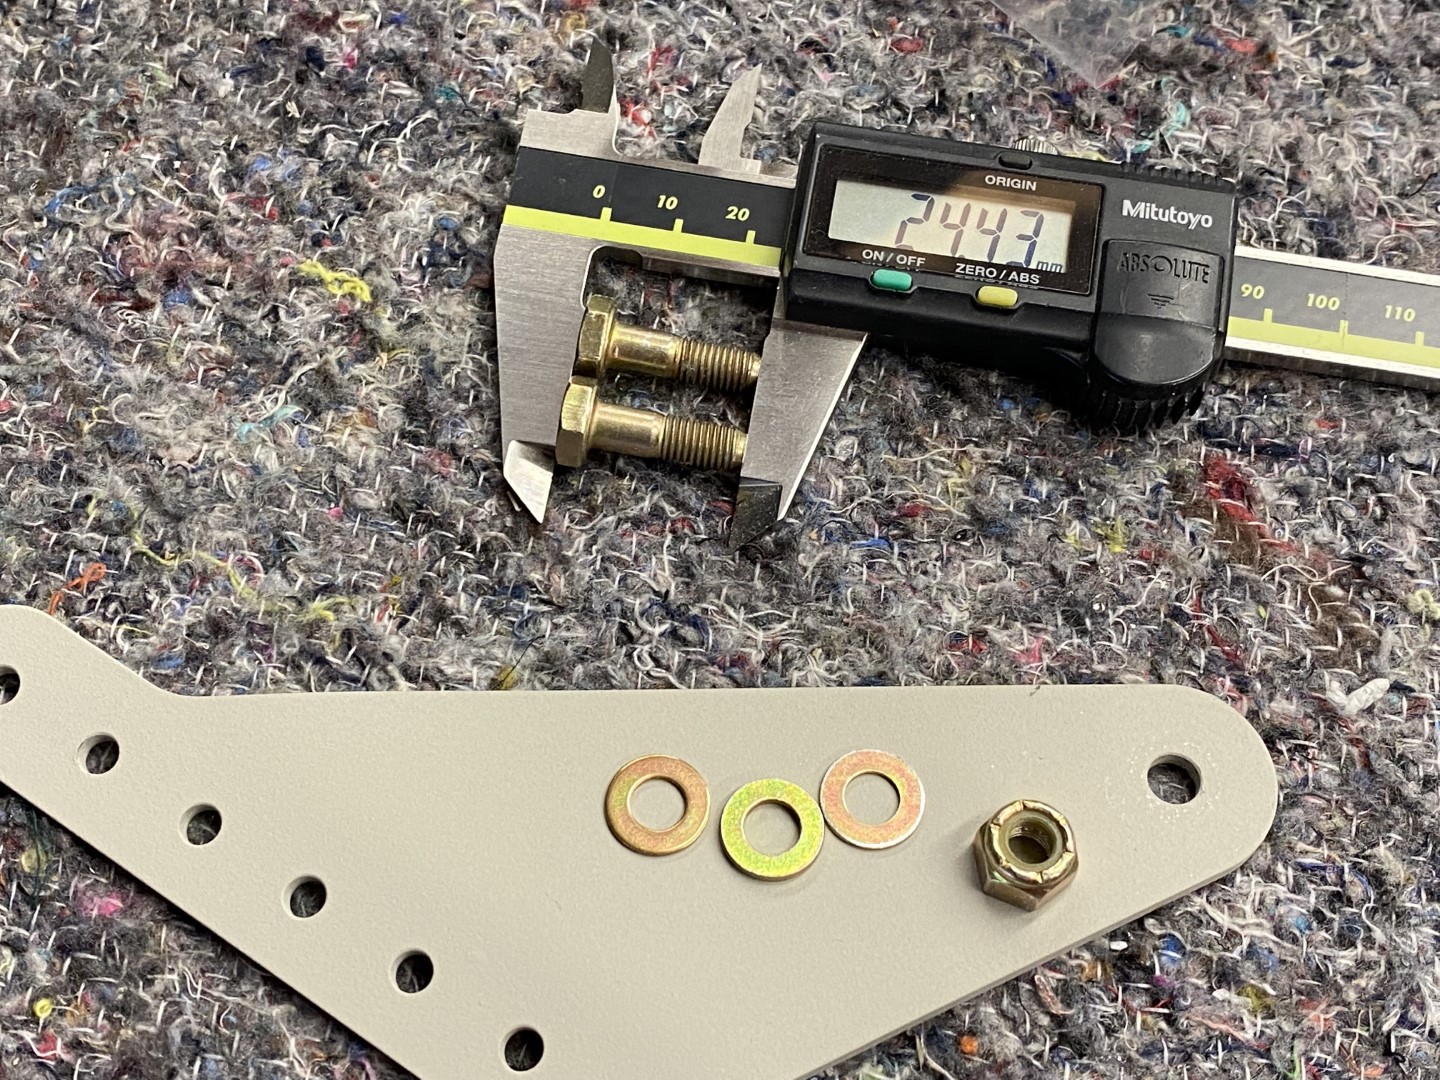
The total stack looks like this:
However, the hole in the seatbelt bracket is around 10 mm, the AN4 bolt 6.35 mm, quite some play. I will make a custom washer in the future to fill the gap.
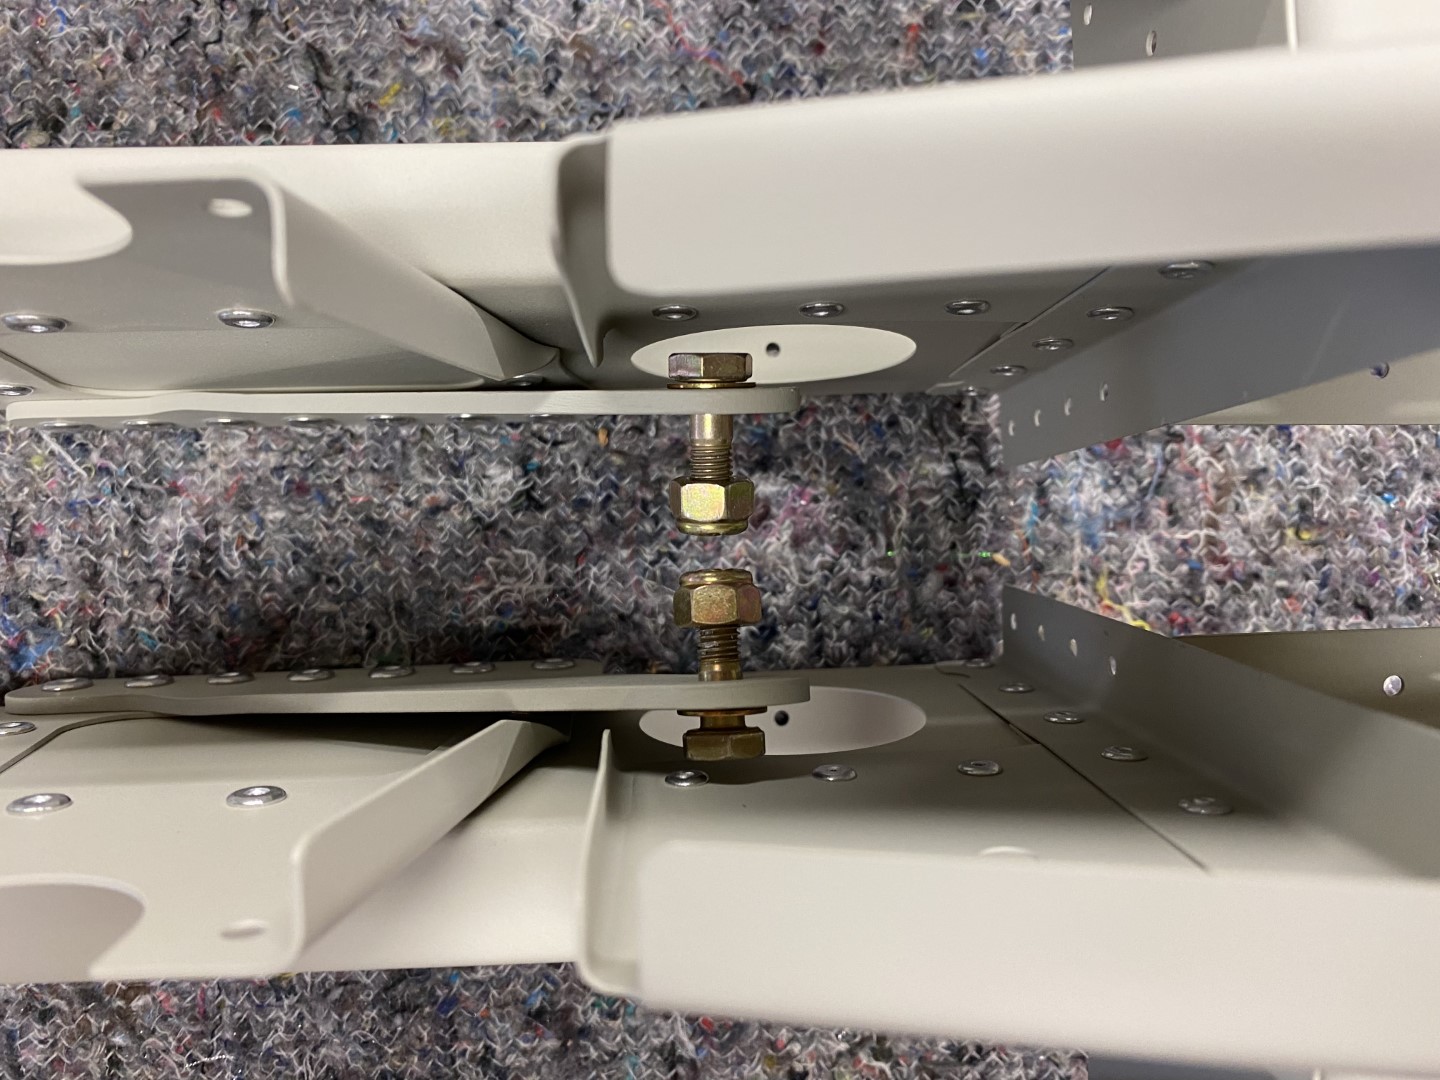
Bolt is in and brackets in place with rivets:

Sufficient clearance now with the flanges:
Time for rivnuts, upsized the holes first to 5.3 mm with a drill and then reamed the holes with a letter A reamer. A tiny bit of JB Weld was used to prevent the rivnuts from spinning:

The construction manual says that only the left side should get rivets, however for better access to the flap-motor, fuel-lines and wiring it’s better to have more panels removable. Therefore I did both the right and left console rib and some more where I will make an inspection panel for the flap-motor like other builders did:
