

There was an issue with the elbow for the breather lines and since the manual wasn’t of any help for bending the the tube I had to figure out that myself.
The elbow that is shipped with the kit has a very narrow collar and according the manual a washer goes on each side. When the first washer is added the collar is completely covered. The elbow has then a lot of play in the hole, thanks Peter V. for the note.
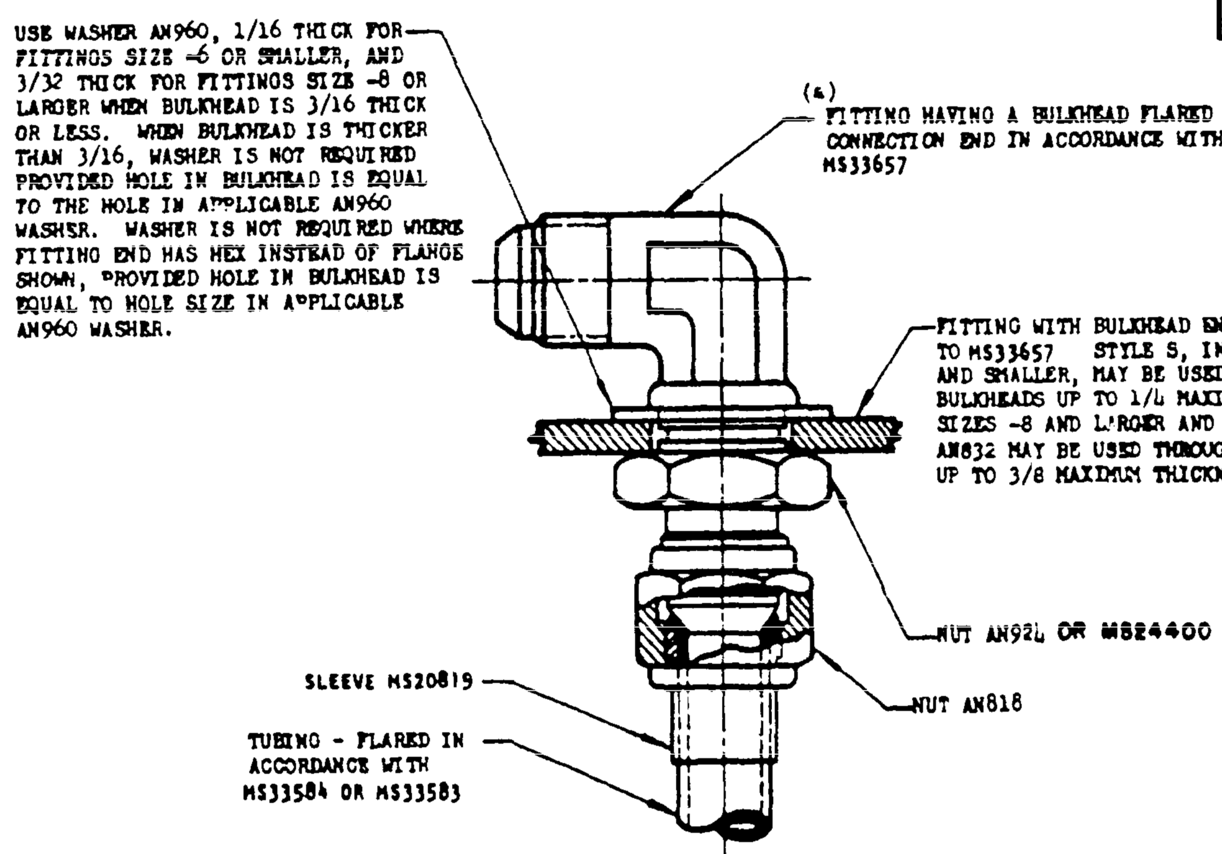
Maybe the ProSeal takes care of this play but it’s not how it should be. I verified the MIL spec MS21344 and this confirms that a washer is required:
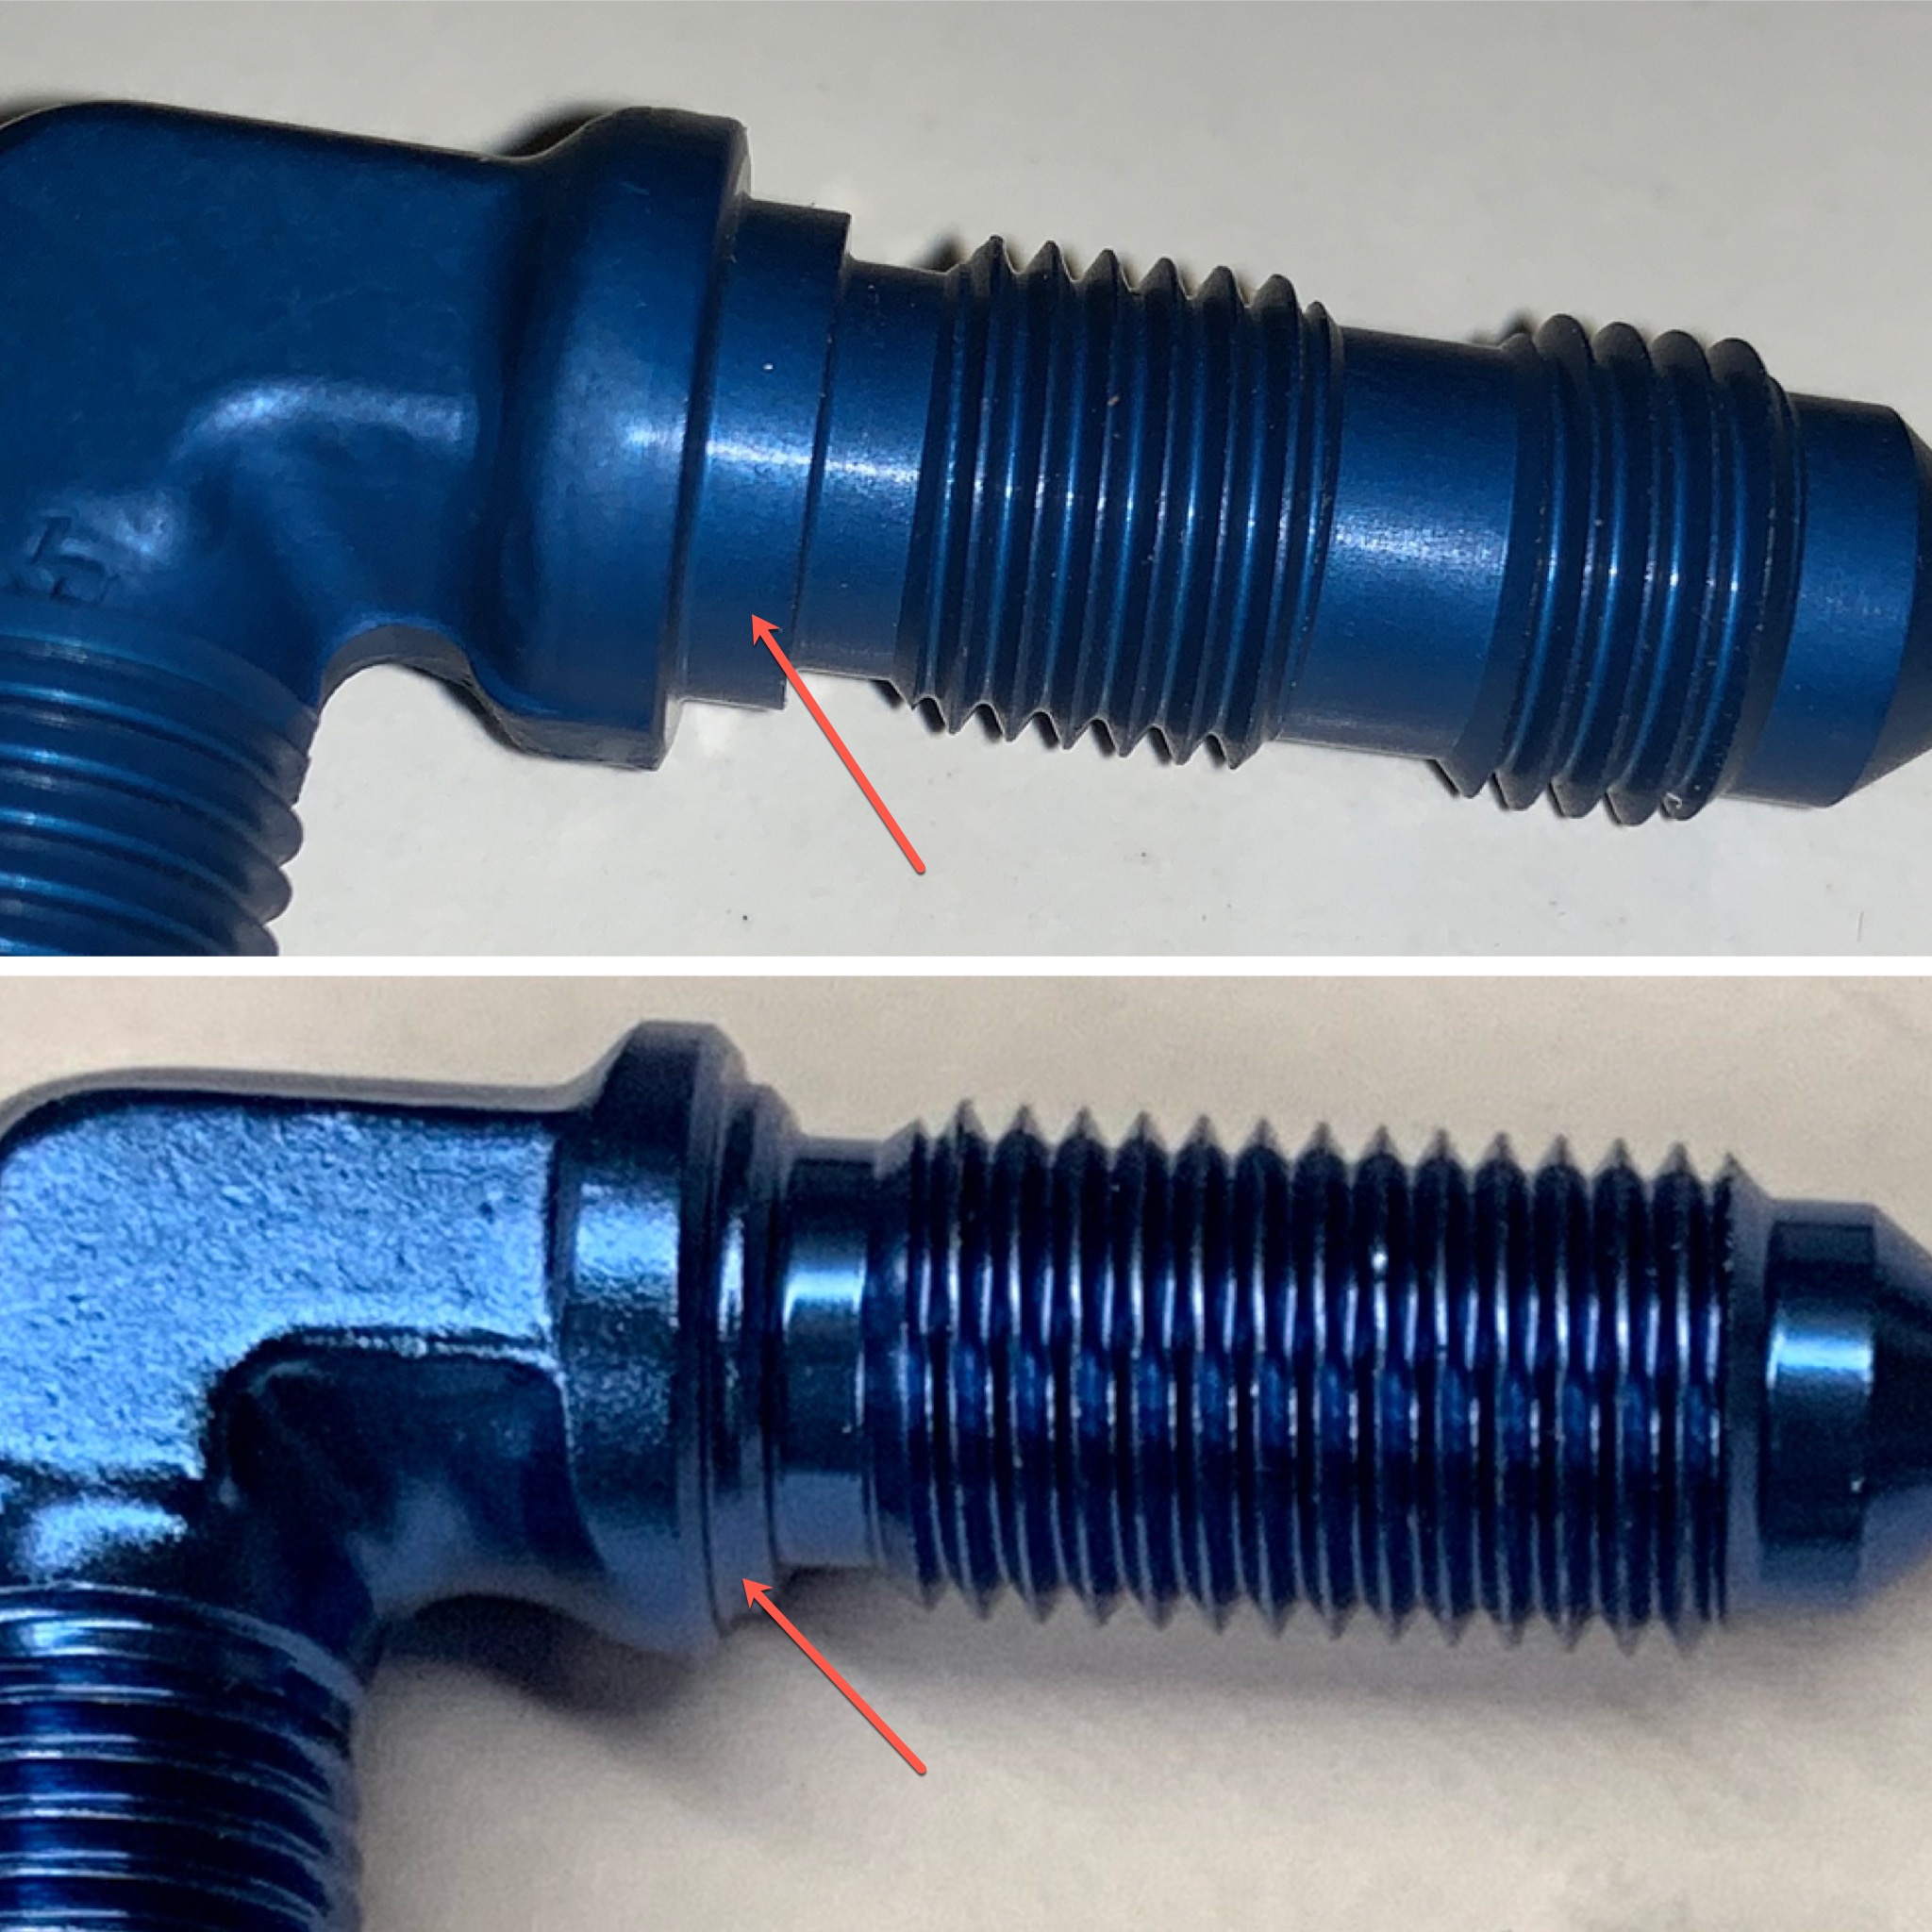
I don’t trust the elbow and ordered new ones from Aircraft Spruce and they are perfect. In this photo you can clearly see the difference between the elbow that is shipped with the kit (bottom) and the one from Aircraft Spruce (top):
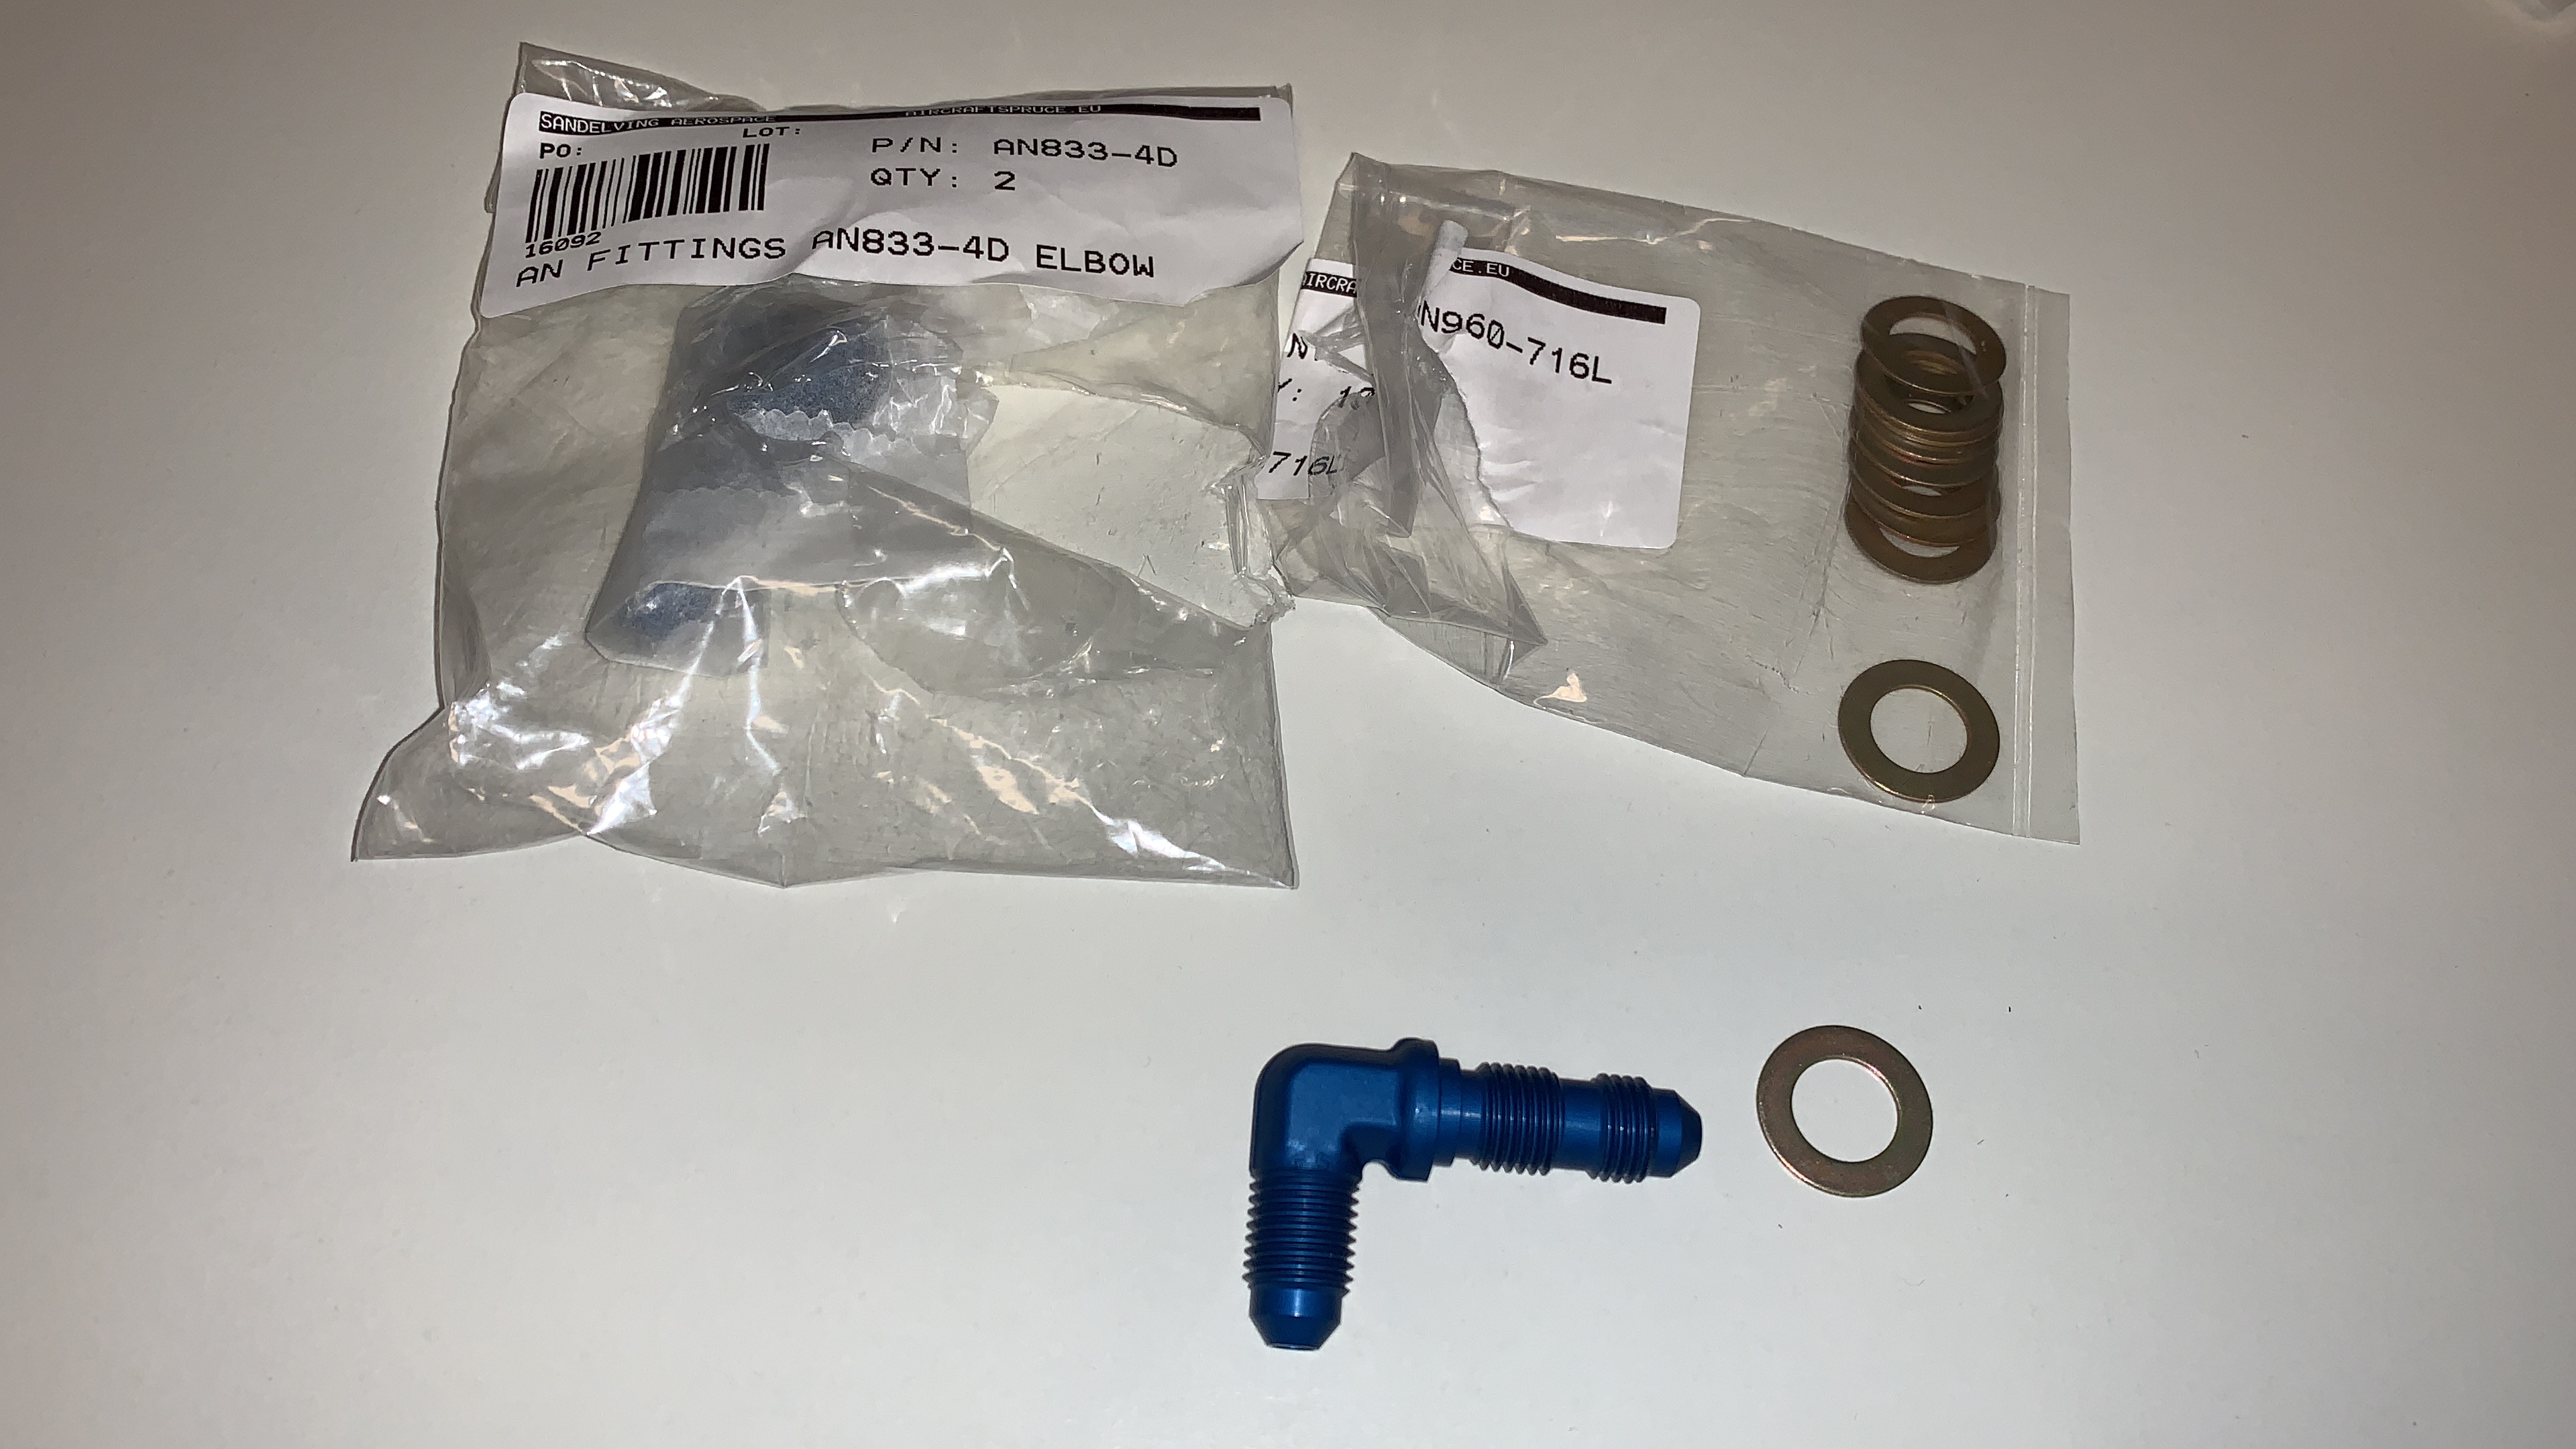
Together with the elbow I ordered the washers that are mentioned in the MIL spec. The thinner washer goes first, then the rib, then the ticker washer and last the nut:
I used longer rivets for the fuel caps, one conflicts with the inside breather line tube. I will remove that rivet and replace it with a 12 mm sealed rivet when I’m working with ProSeal next time:

Next was bending the breather lines, unfortunately the manual isn’t of any help here so I had to figure it out myself. I ordered some 5052-0 1/4″ tubing so I had plenty of tube for experimenting.
After having it right I drew the breather lines in SolidWorks with exact locations of the bends:

The bender I purchased from Cleaveland tools couldn’t handle the tight bends. I purchased the same bender that Patrick S. used. This bender can do the tight bends but is bit difficult to line it up.
These tools where used to make the breather lines:

Bends are ready, next is making the flare and verifying it’s diameter:

Ready:

With these bends there is sufficient clearance for the ribs and bracket:

The other breather line is a mirrored version of this one.