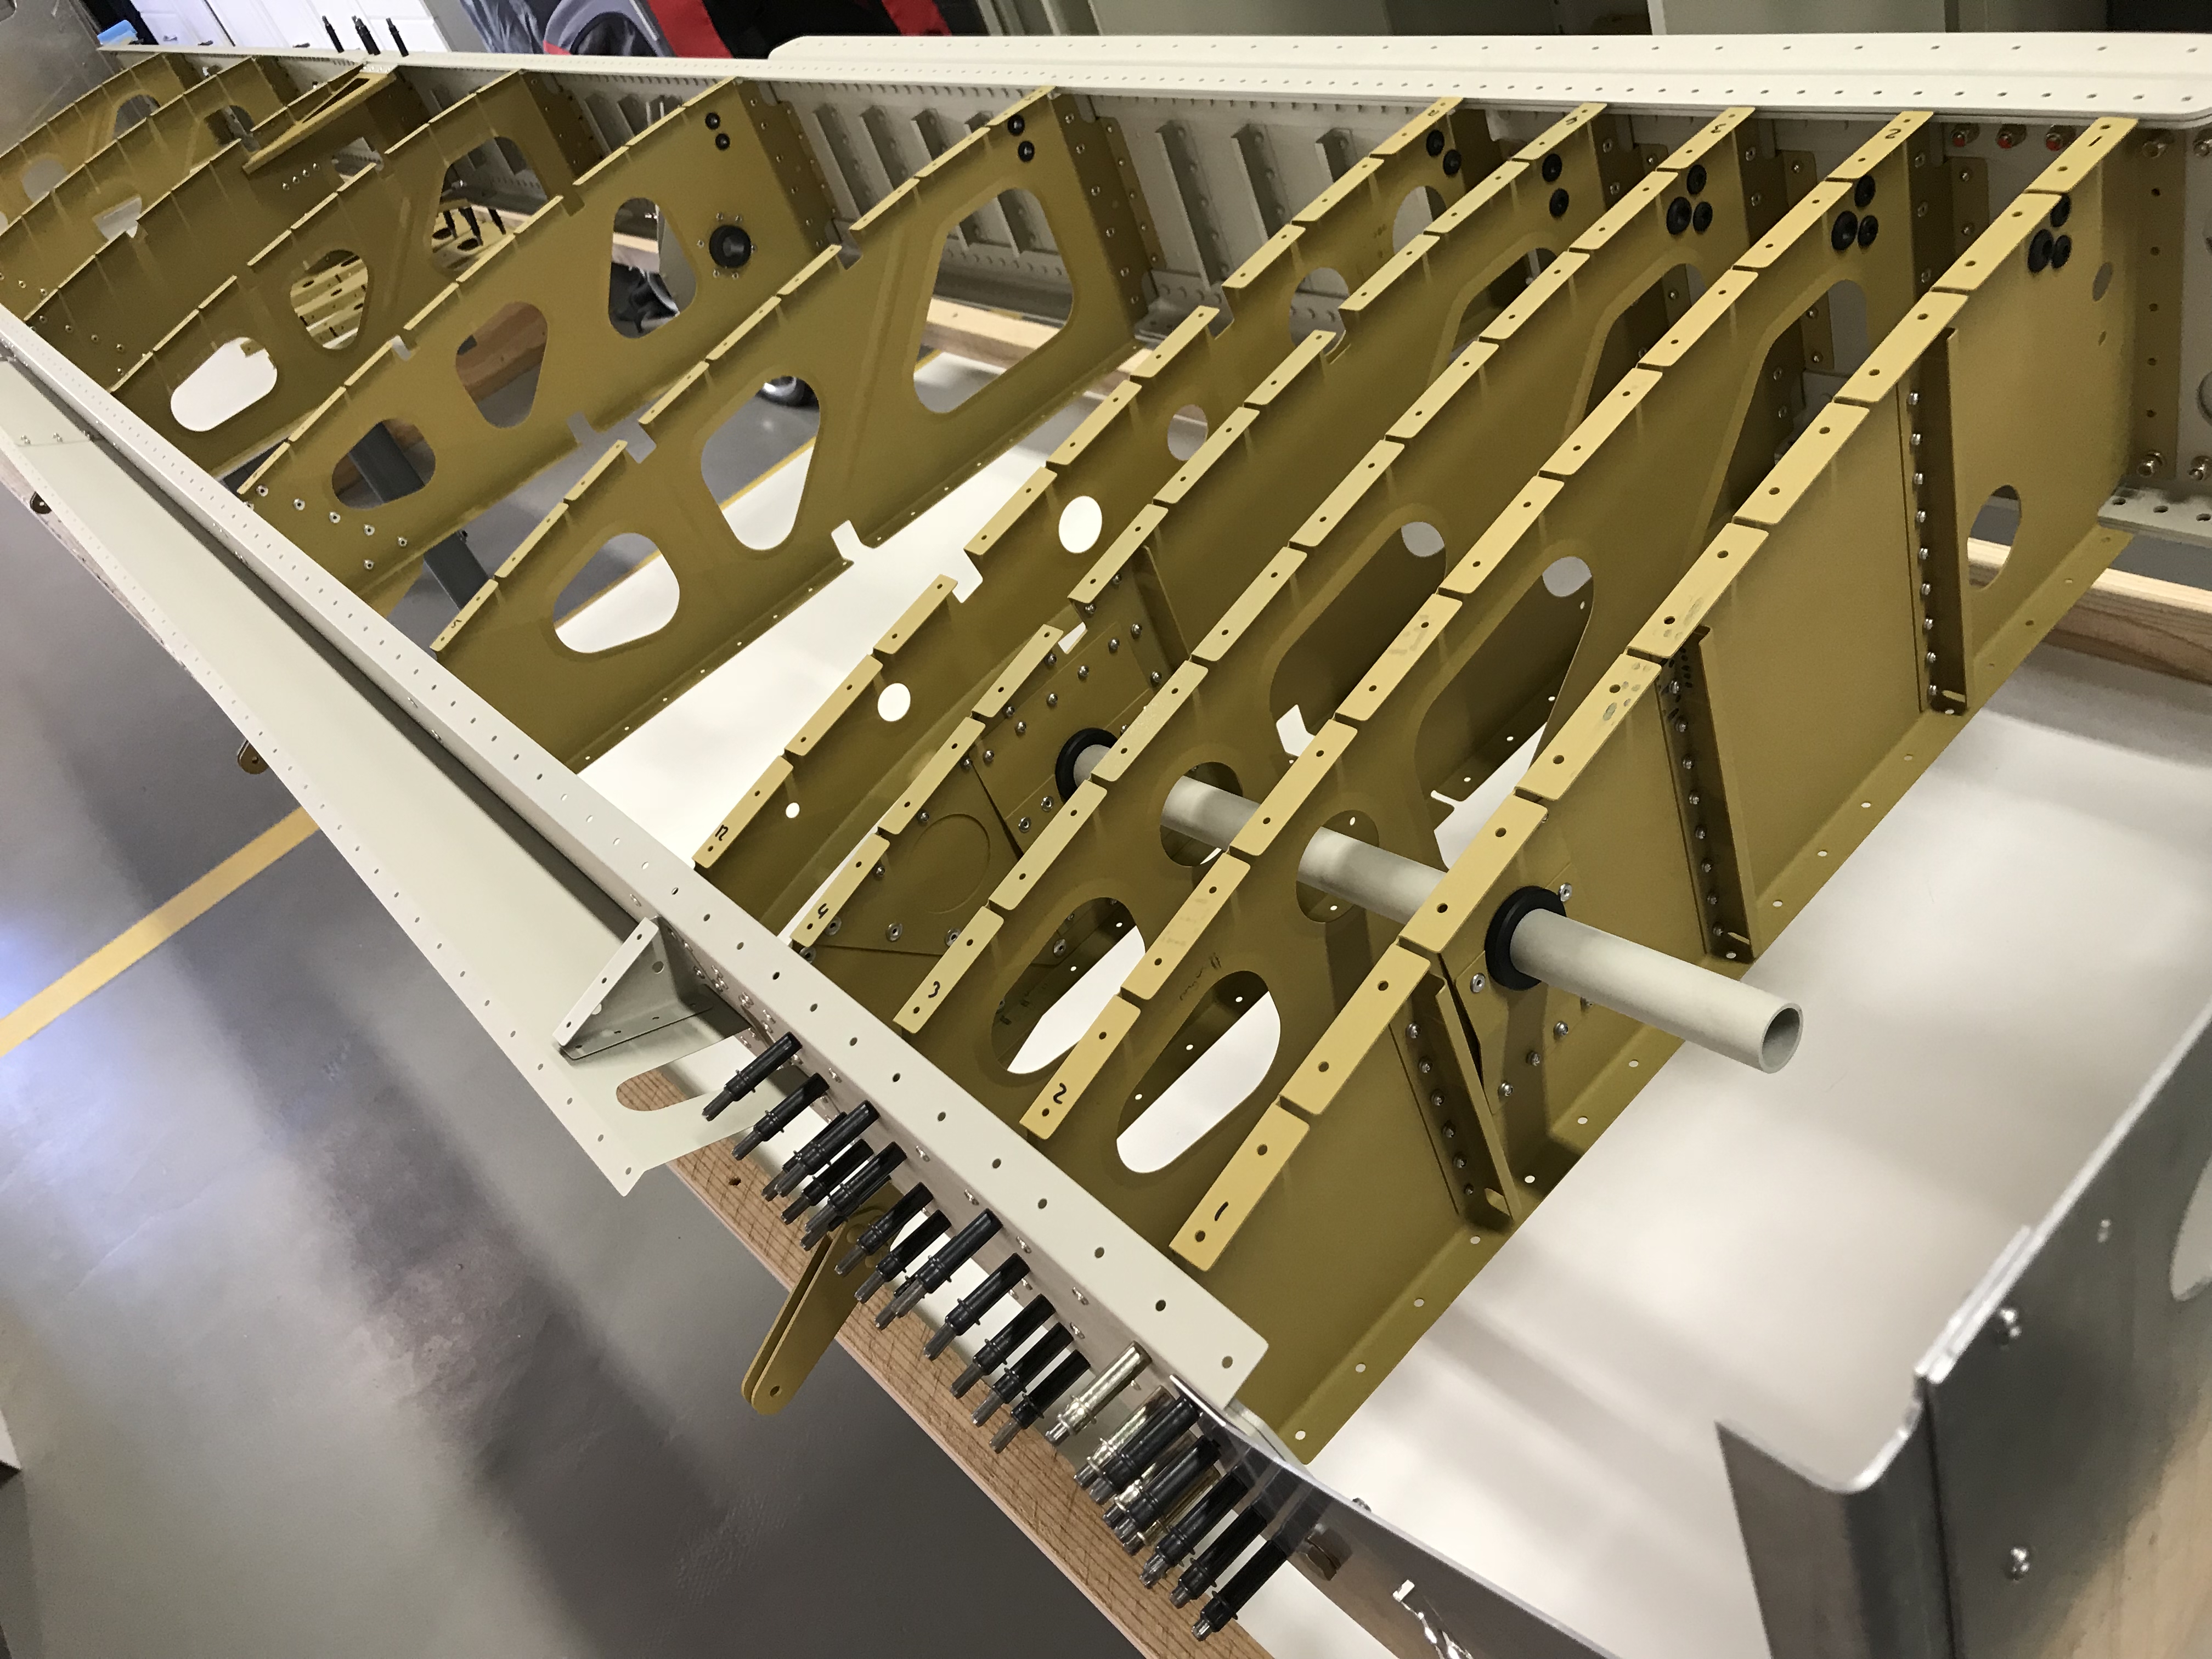
All ribs where ready and I could rivet the ribs of the left wing.
Some rivets need manual riveting with this special rivet gun:

I worked my way from the outside rib 10 to the inside rib 1.
Last I inserted the flap torque tube and rib 12.
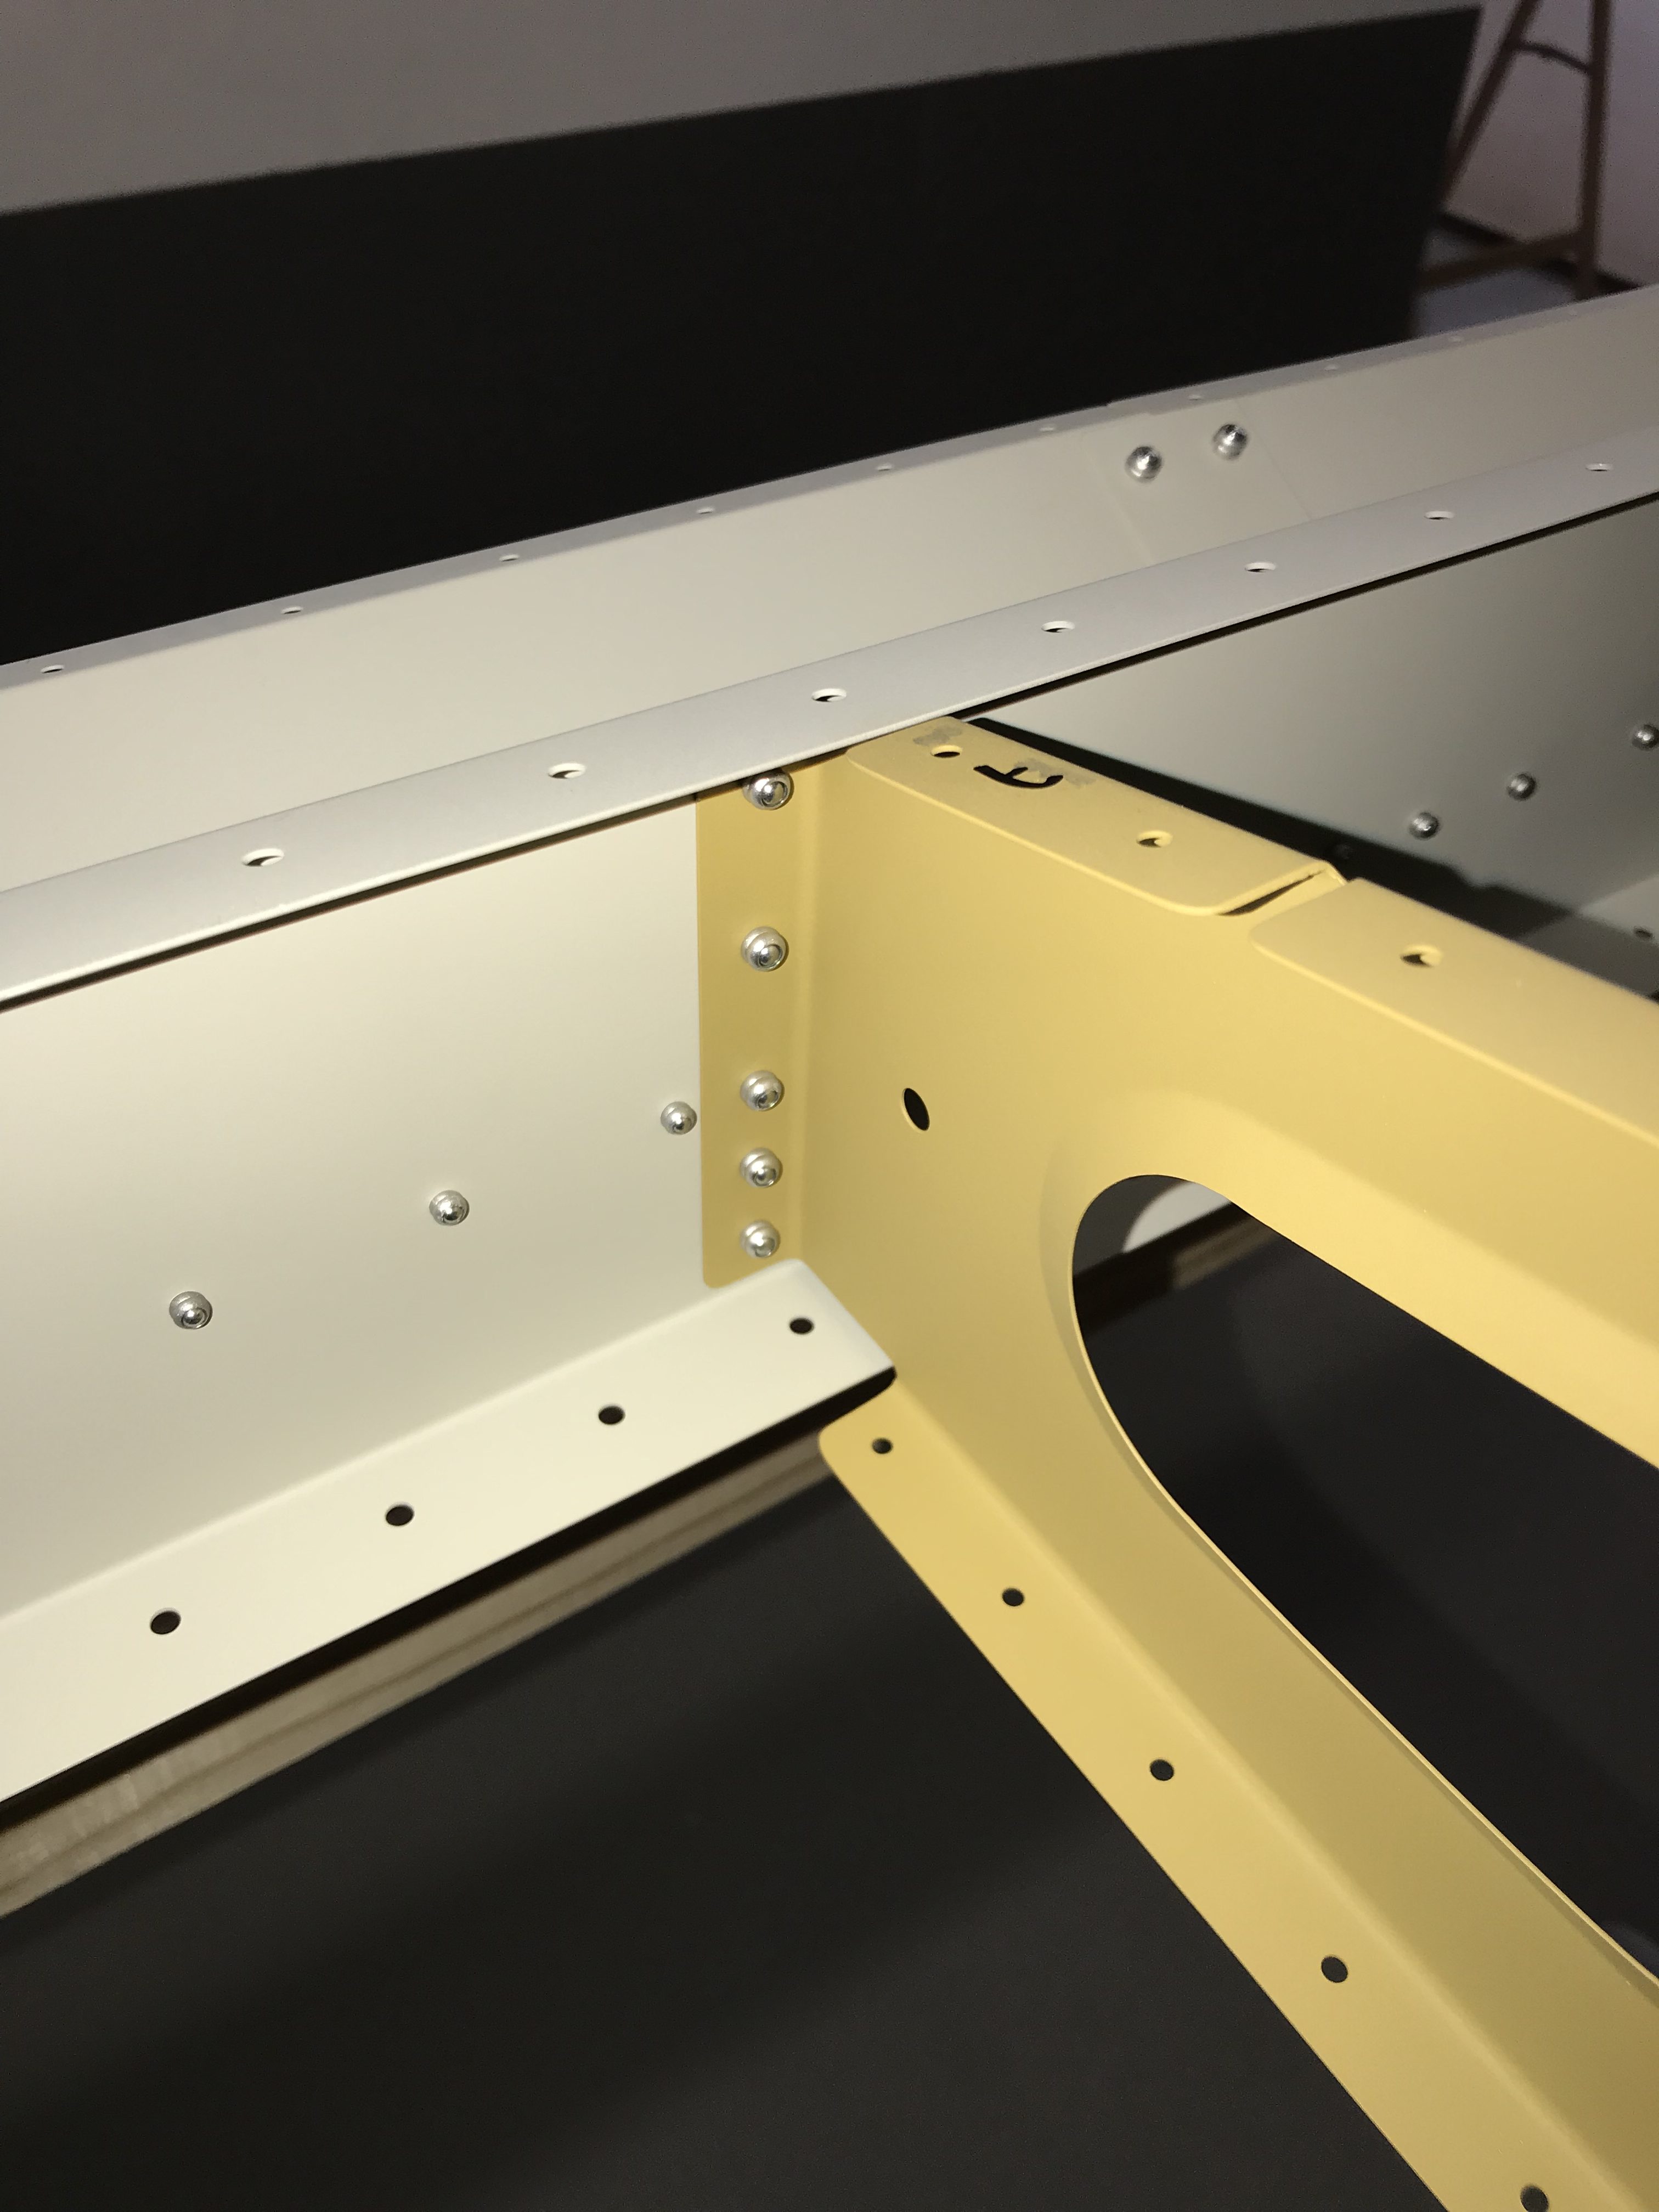
Rib 10:
I did not rivet the leading edge rib yet to make it easier to rotate the wing.


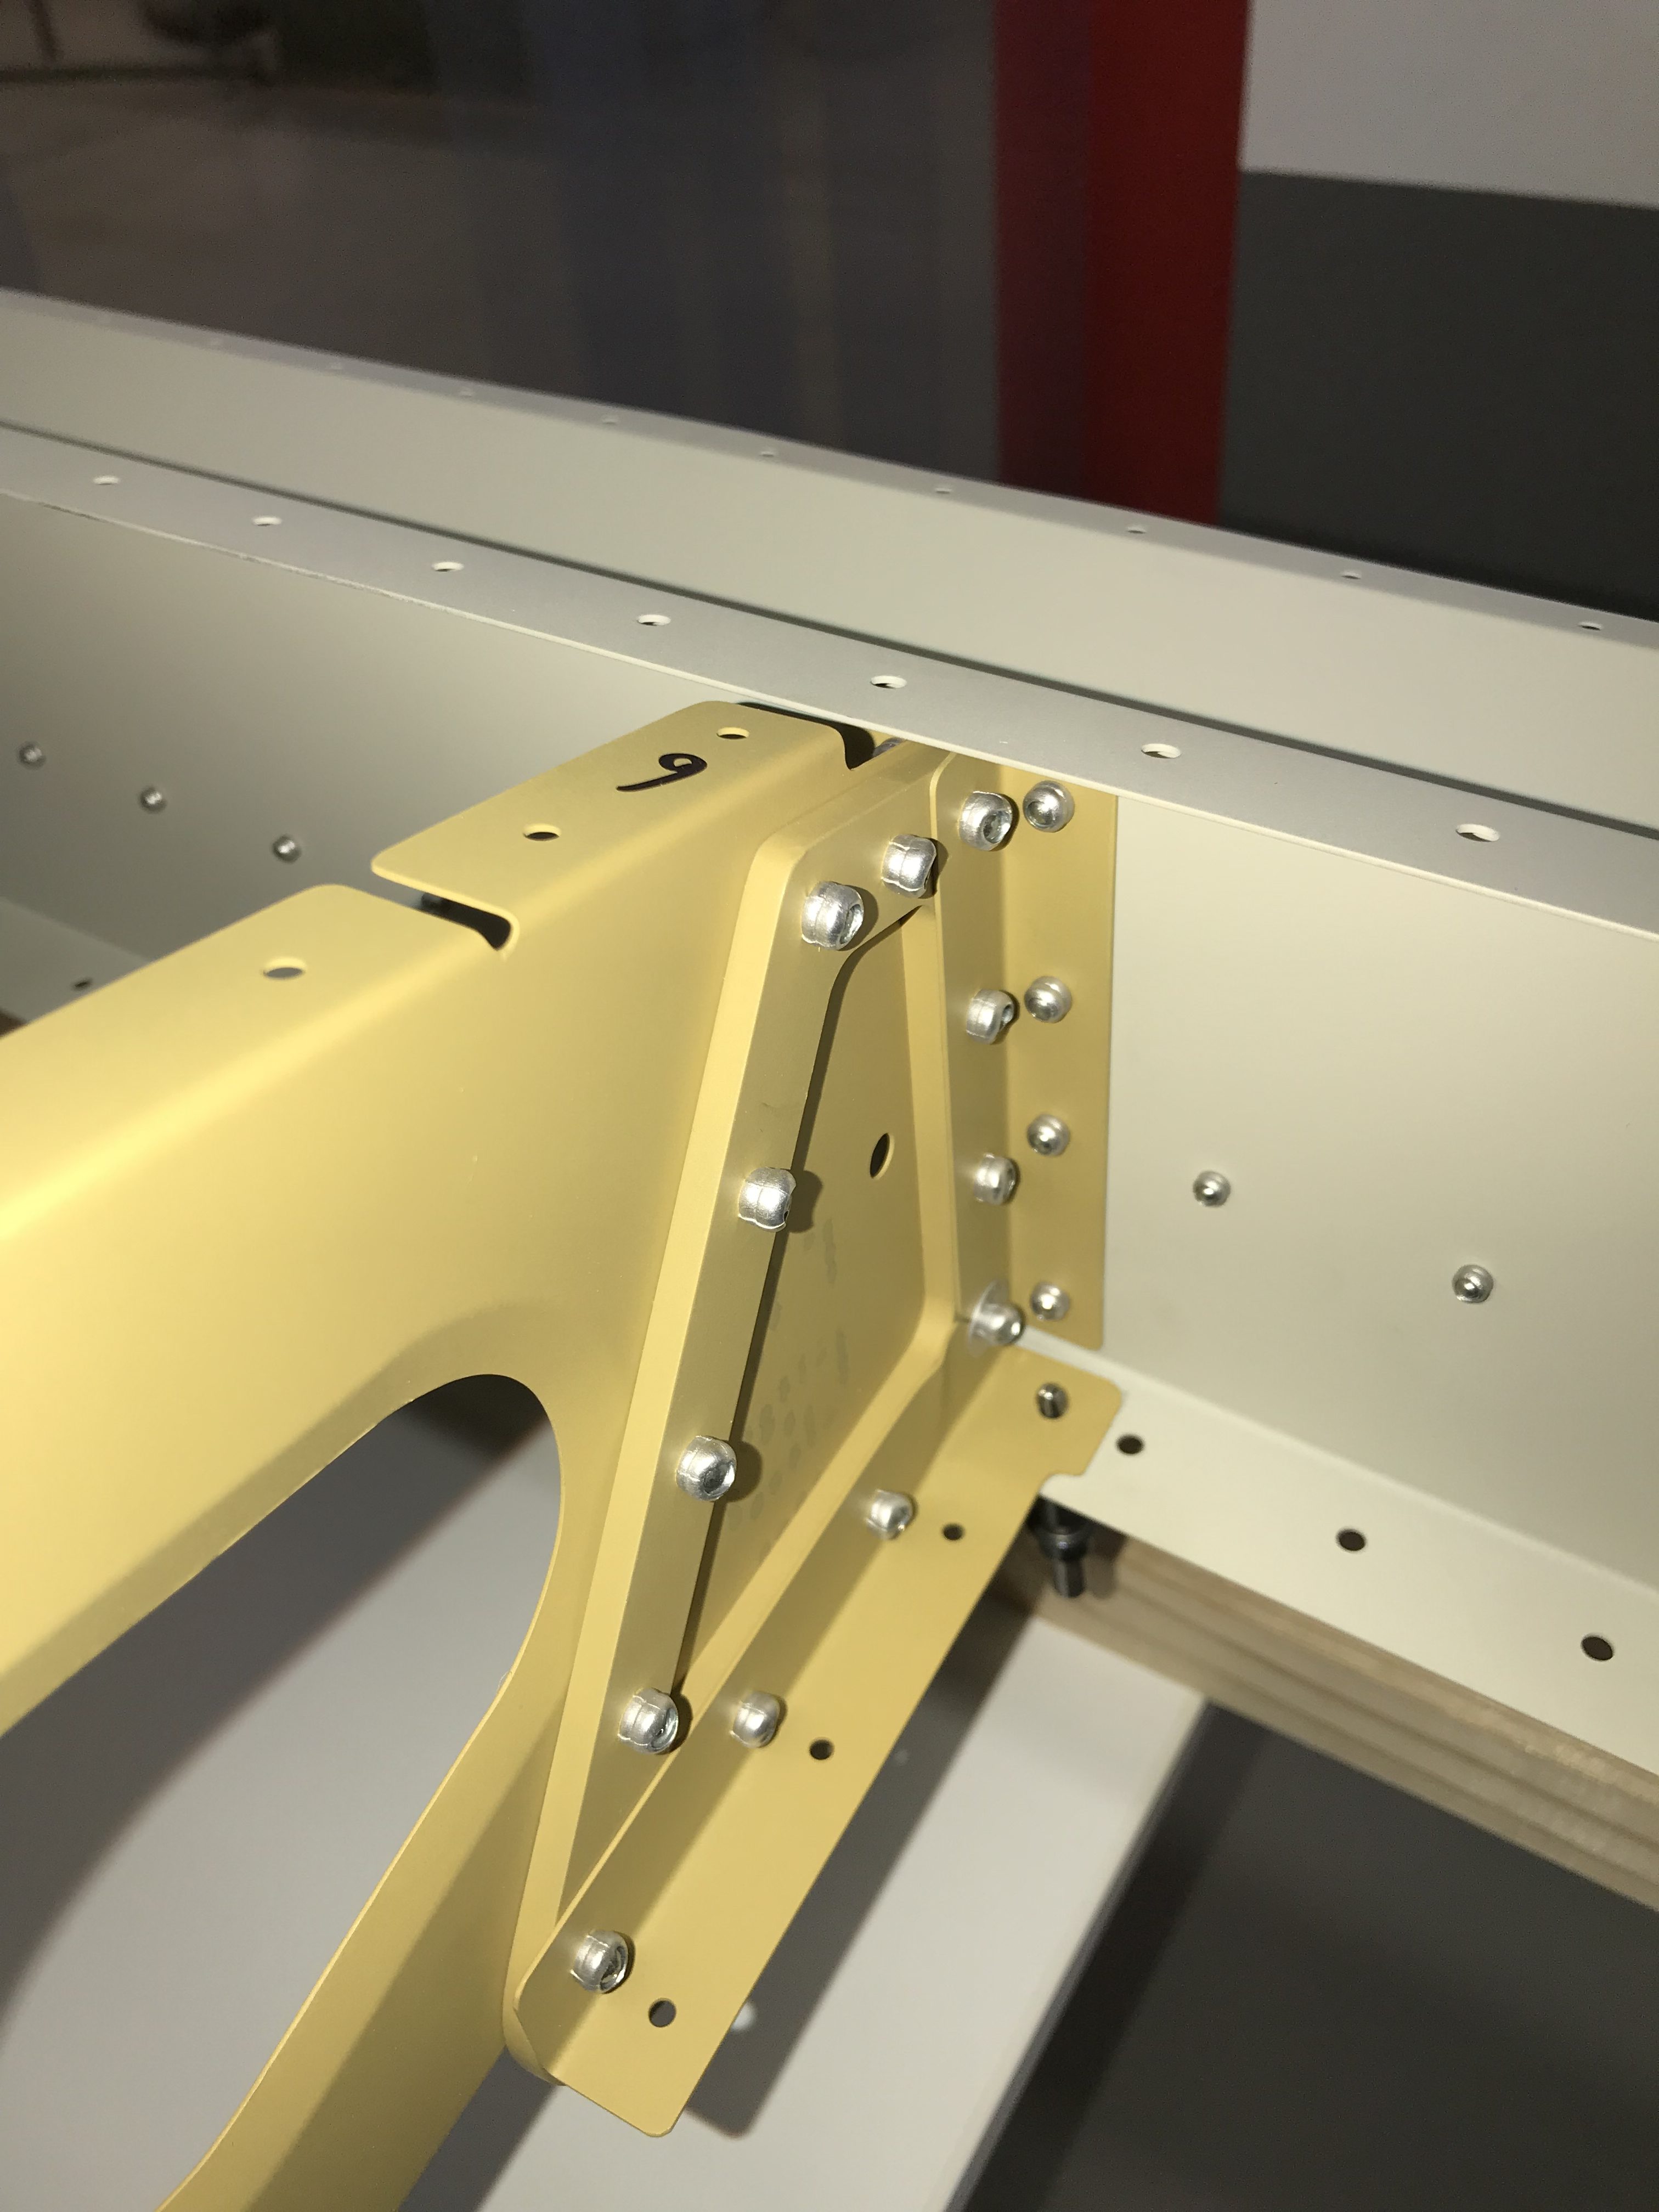
Rib 9:
I did not rivet the leading edge rib yet to make it easier to rotate the wing.
The step bend angle was riveted and I added a aluminium washer under the tail of the last rivet.

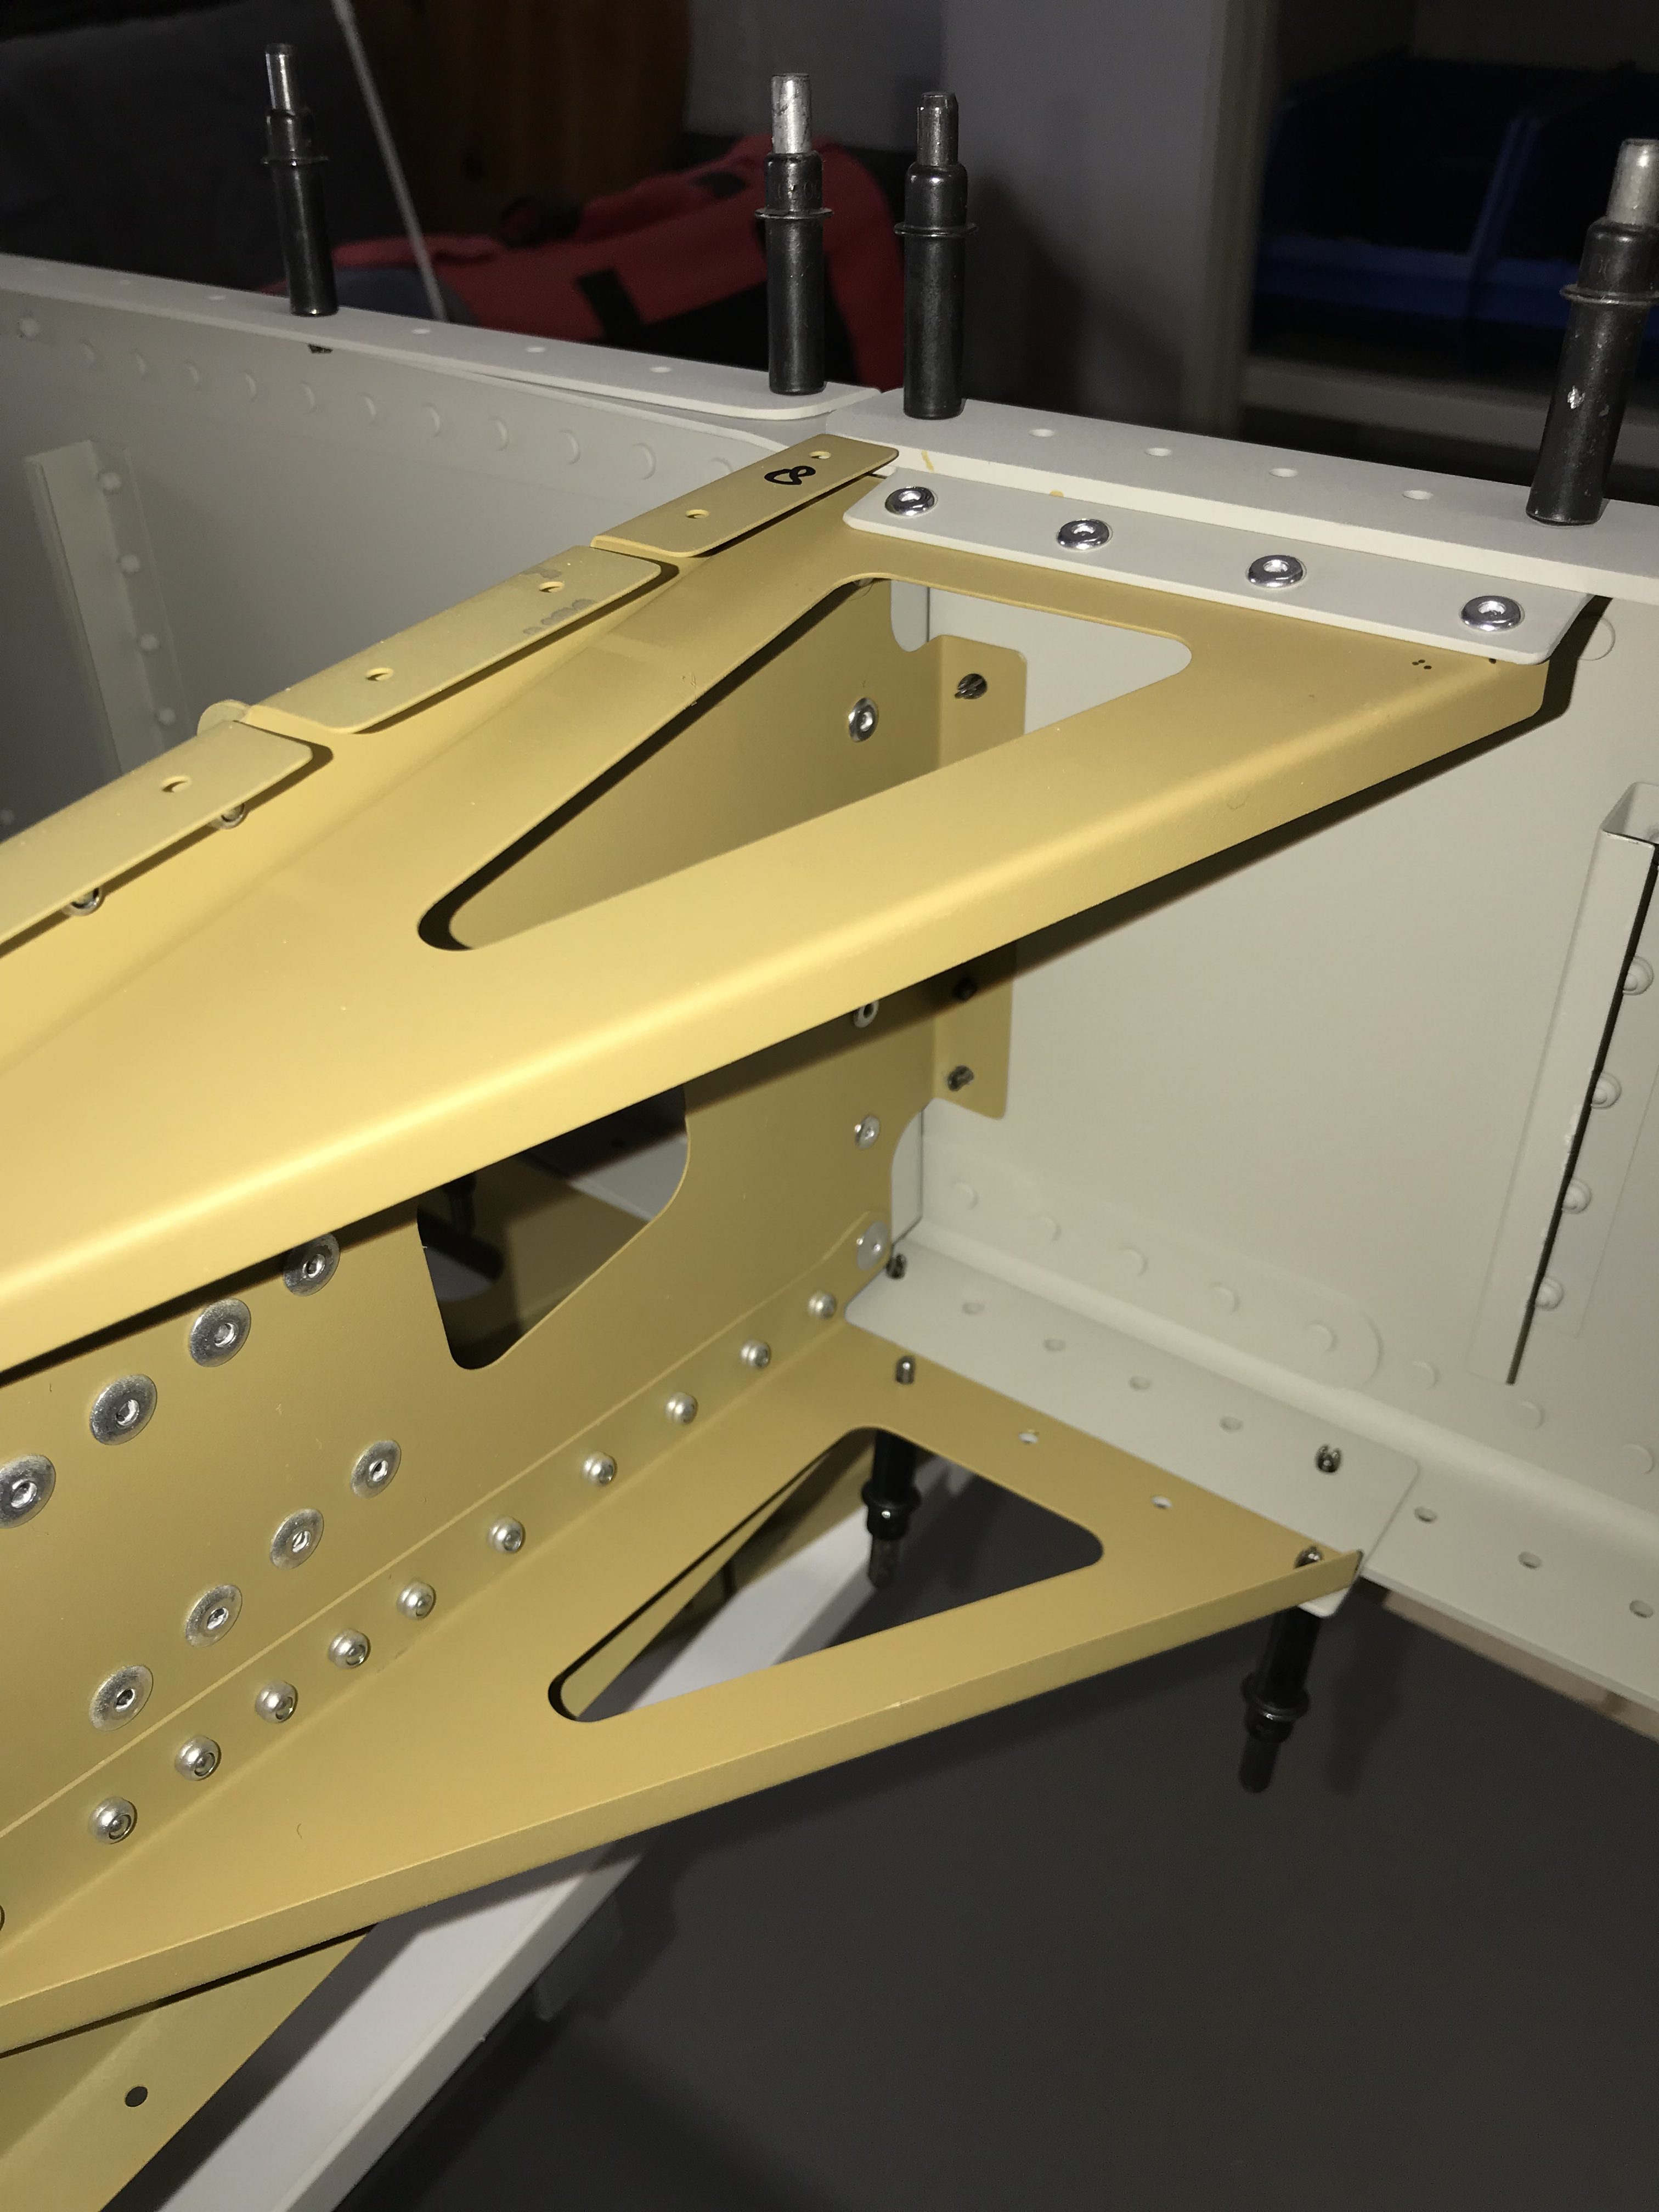
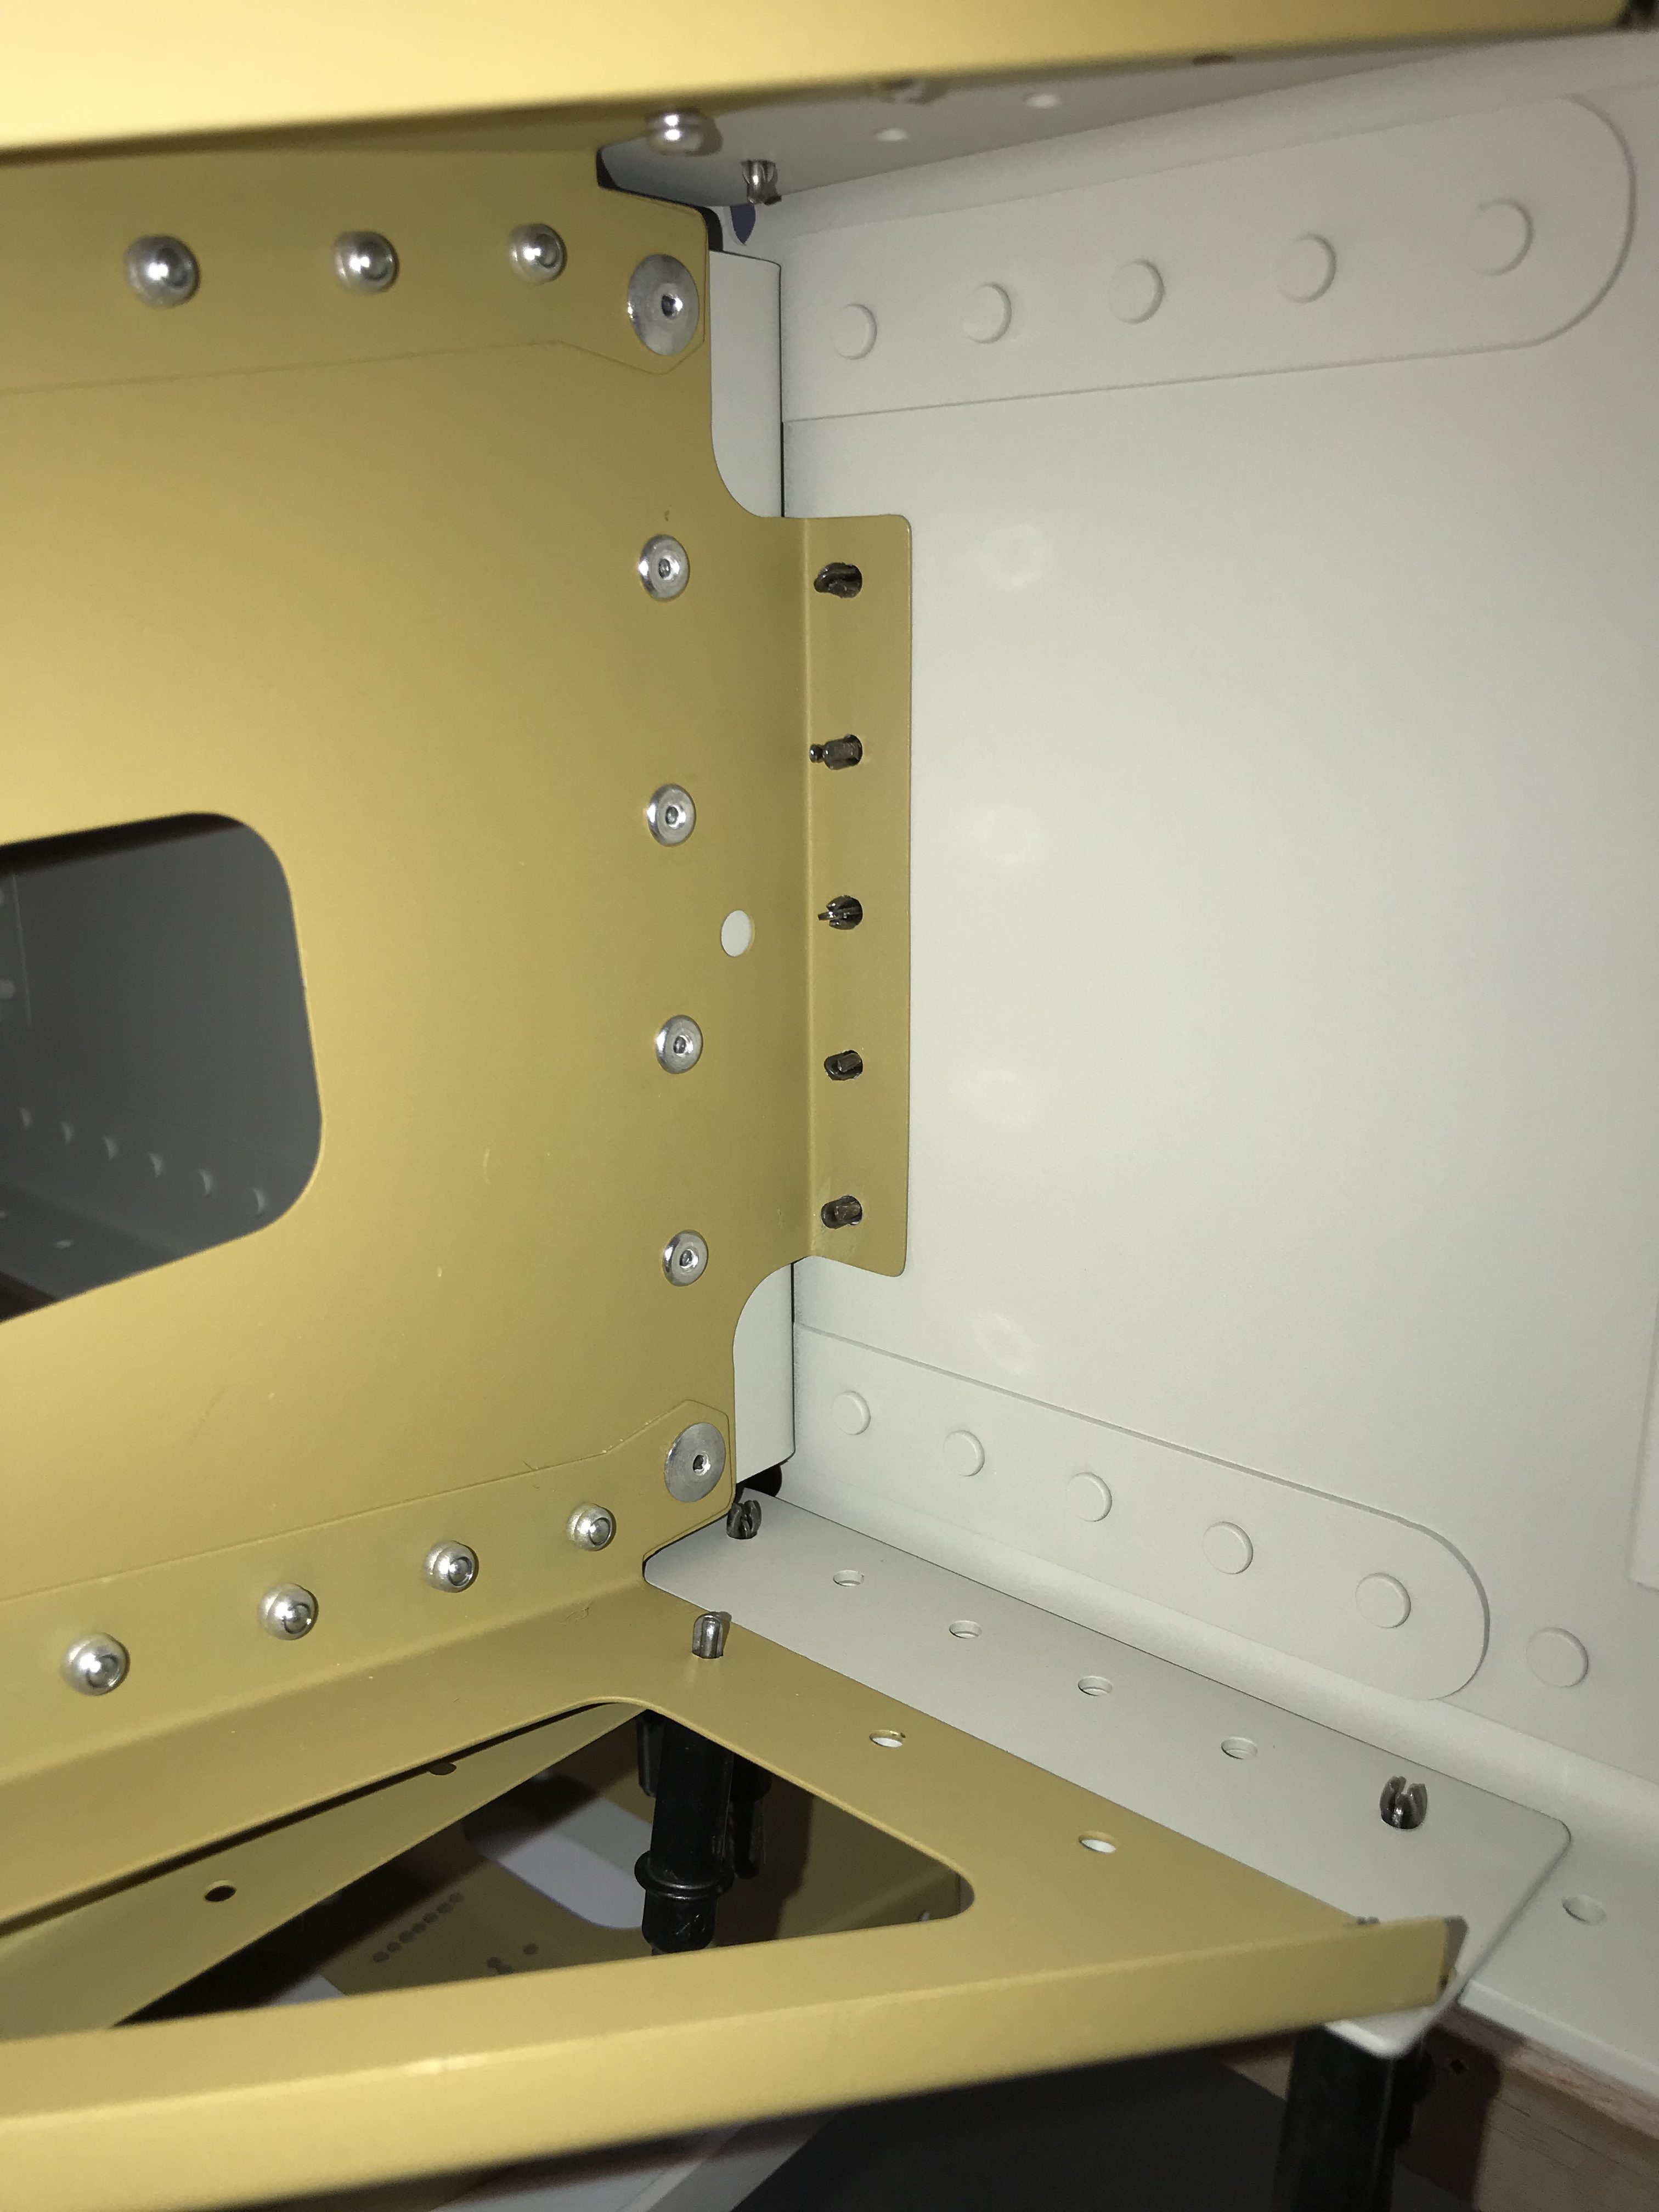
Rib 8:
I did not rivet the leading edge rib yet to make it easier to rotate the wing.
The step bend angle was riveted and I added a aluminium washer under the tail of the last rivet.
Note the 2 large flange 4 mm rivets because a hole in this rib was enlarged.

Rib 7:
I did not rivet the leading edge rib yet to make it easier to rotate the wing.

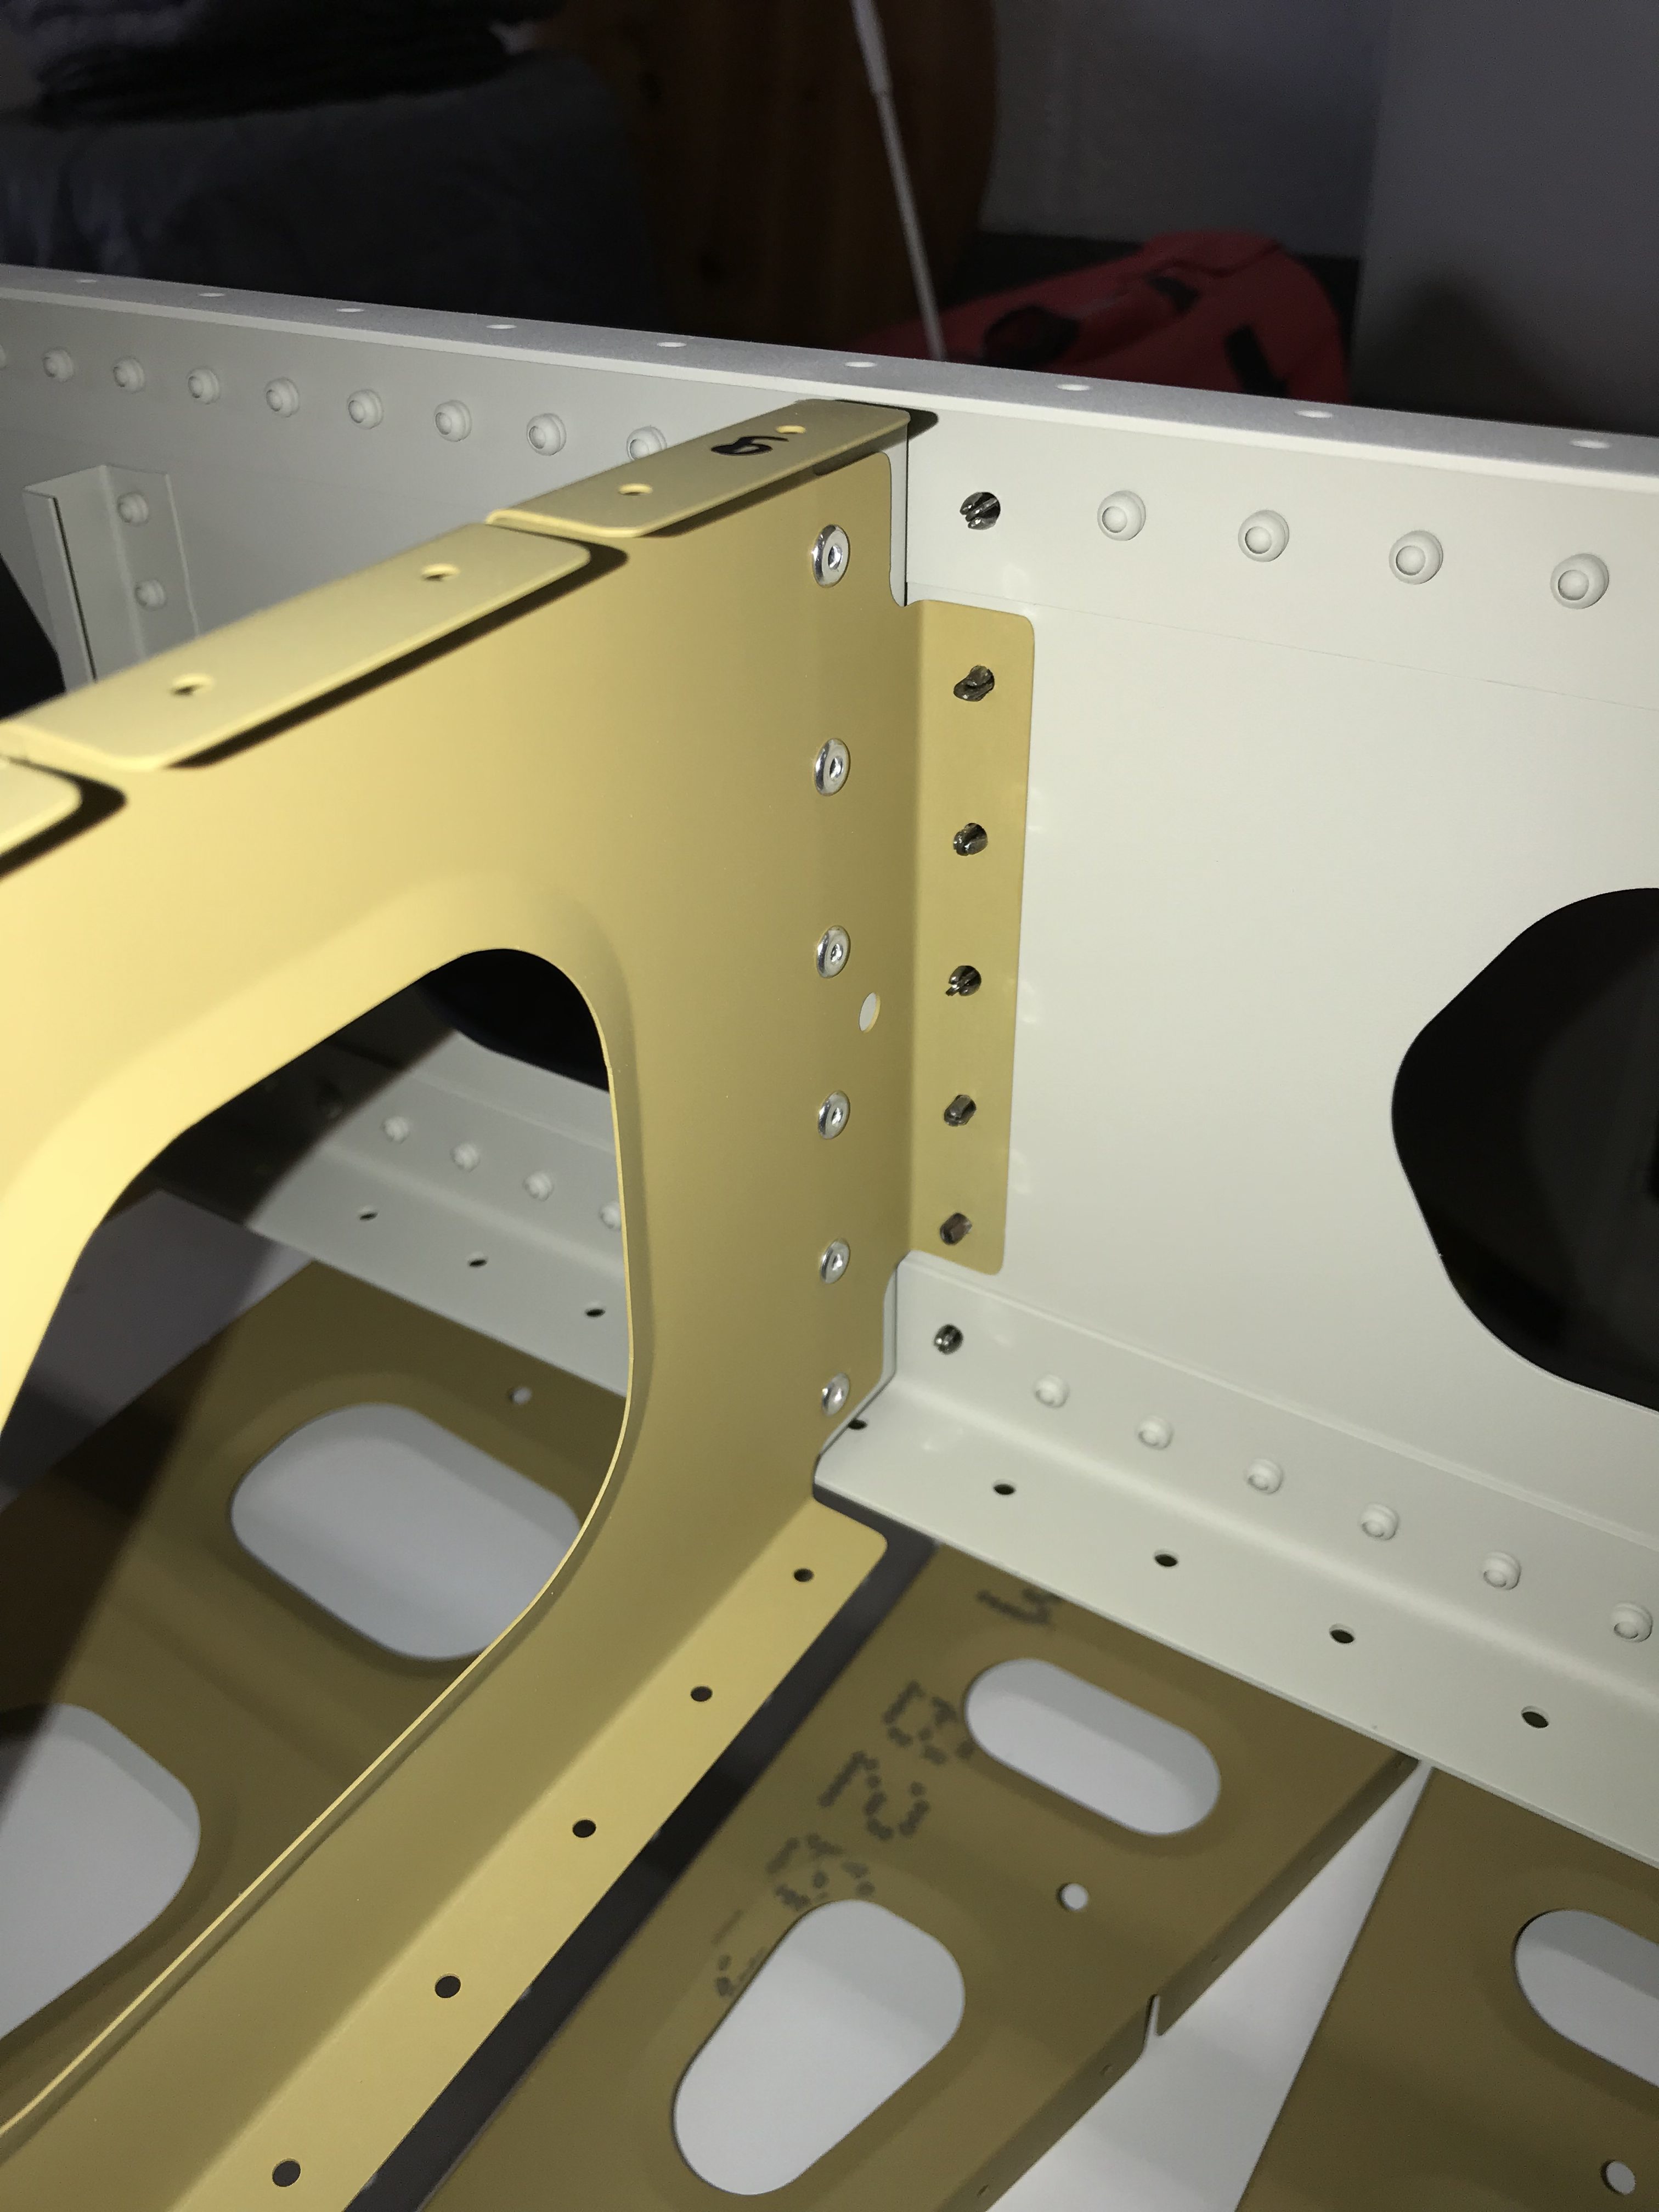
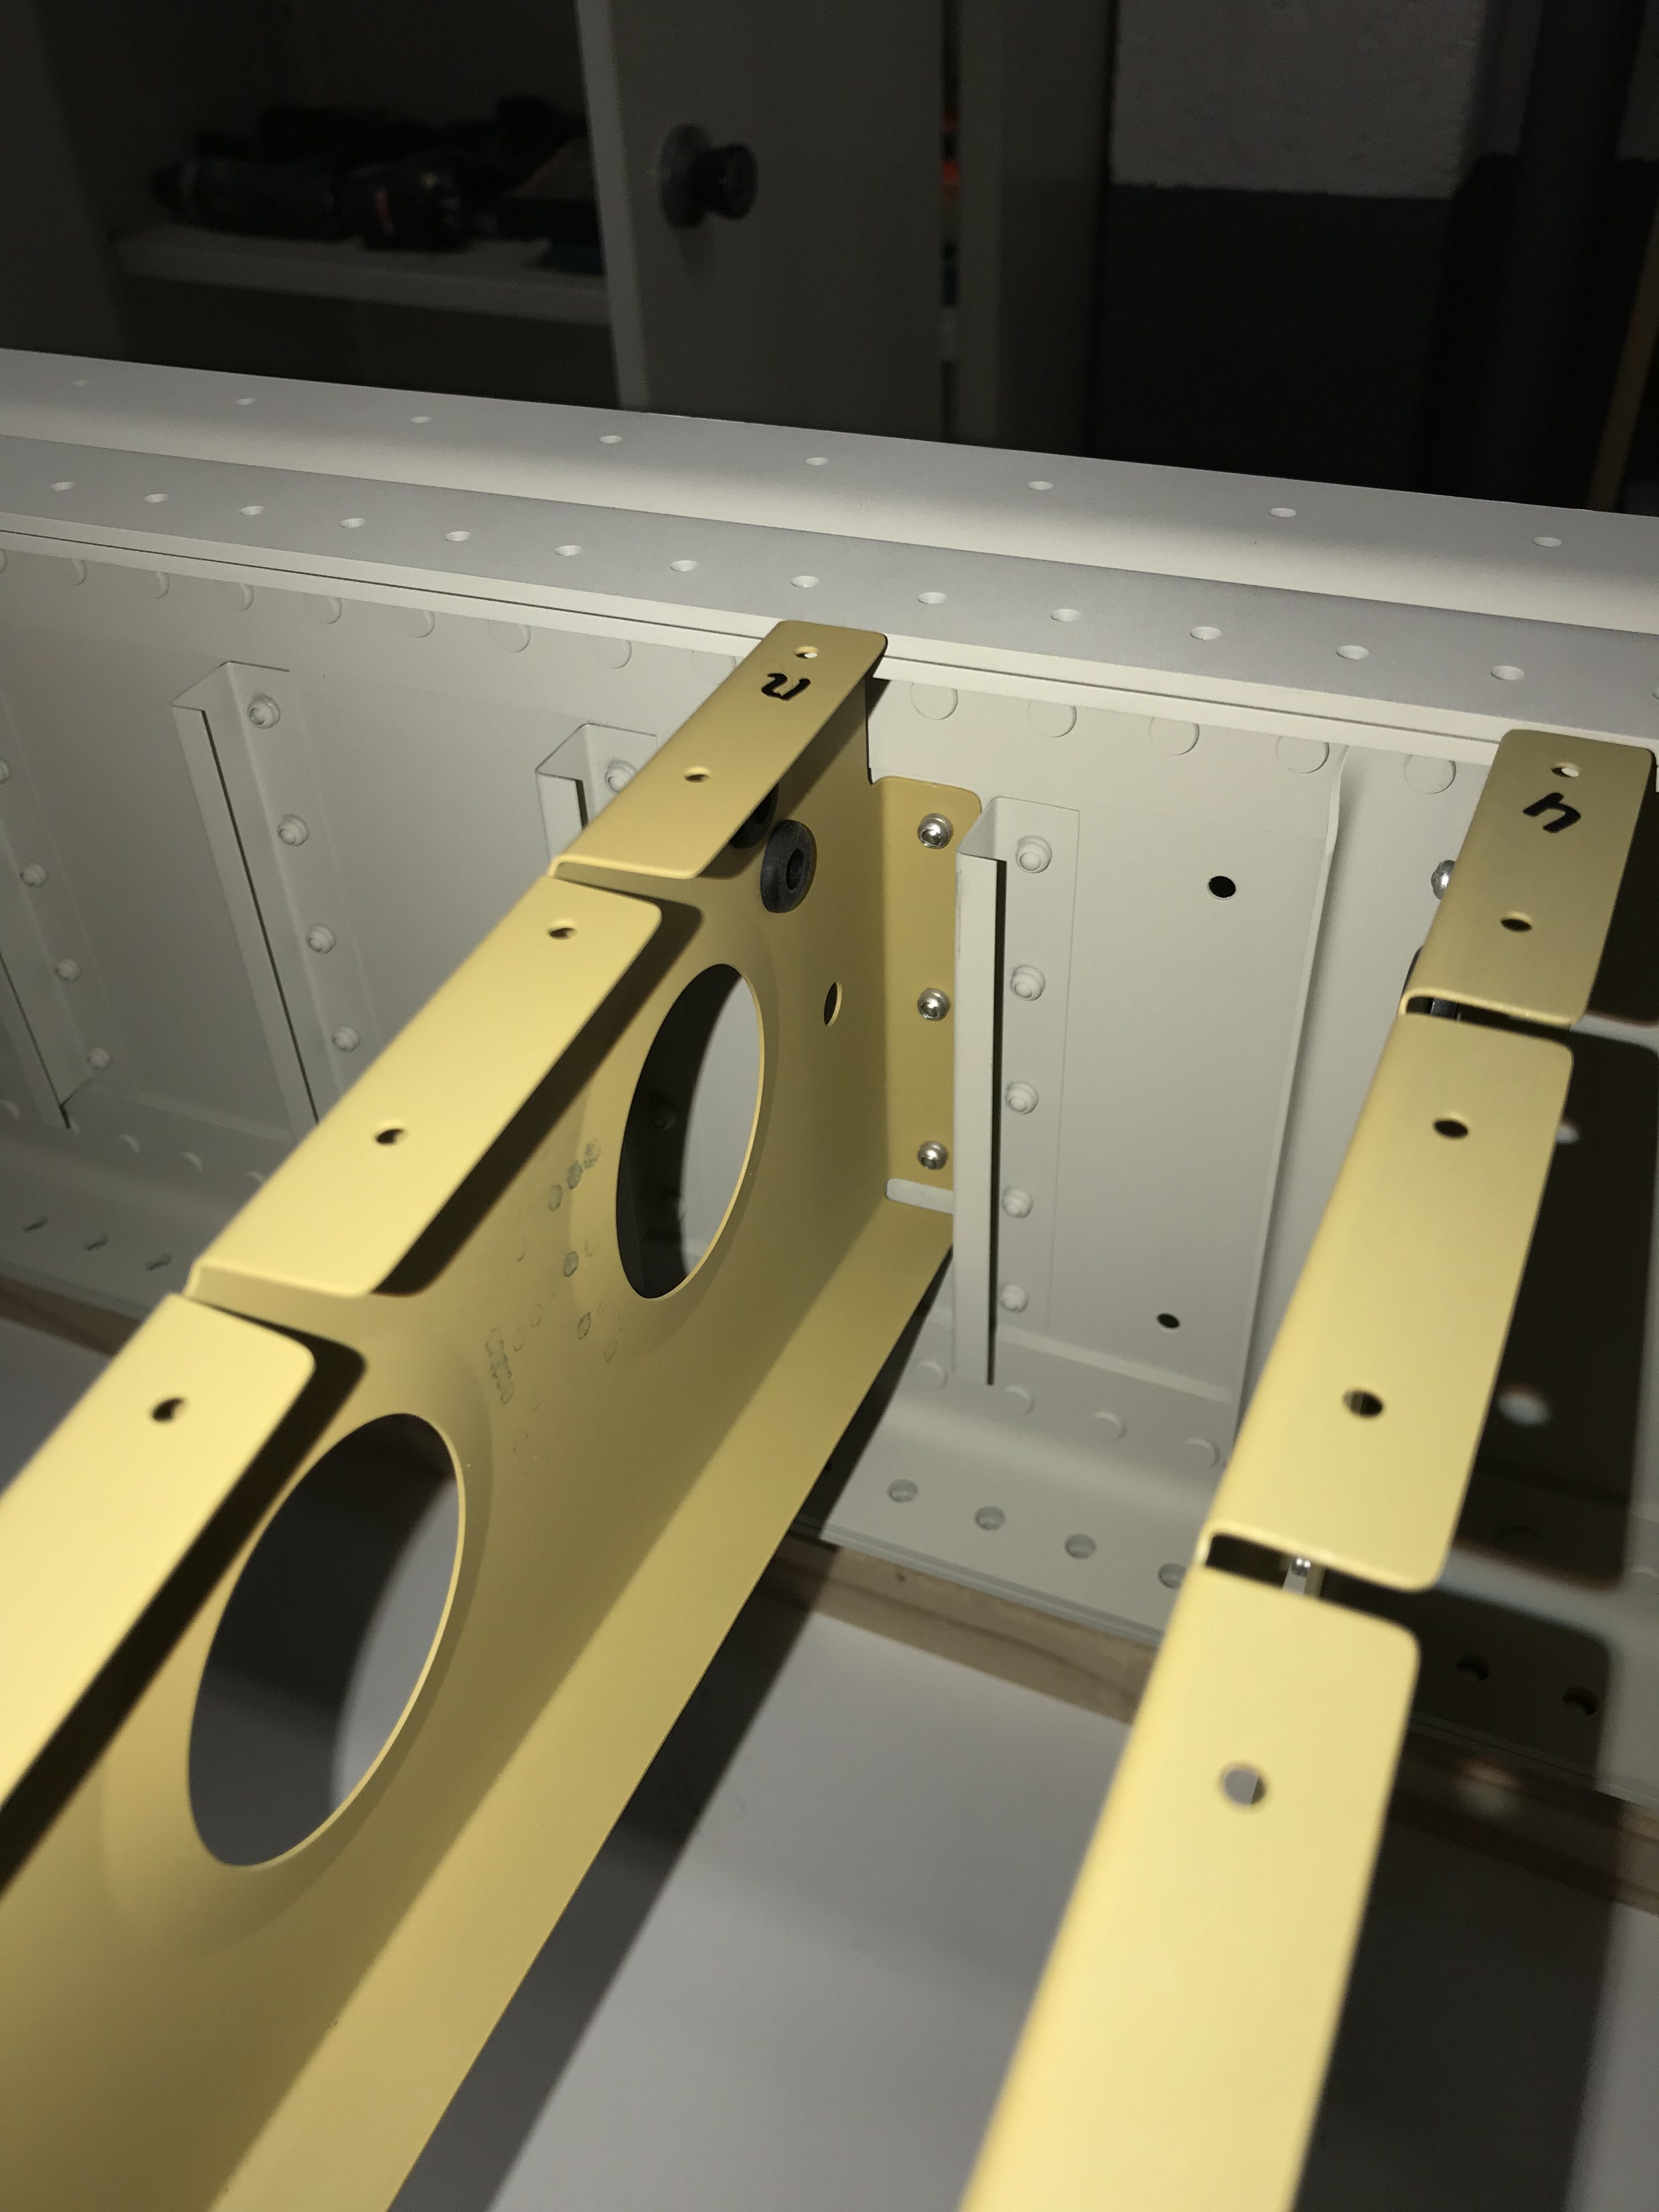
Rib 6:
This is the new version with bushing.
The step bend angle was riveted and I added a aluminium washer under the tail of the last rivet.
I didn’t enlarge the holes for the grommets, I left them 9.5 mm and added a grommet that has an inside diameter of 6 mm for the pitot tubes.

Rib 5:
This rib was not aligned with the main spar, the top needed a bend down and the bottom needed also a bend down, I modified the rib with a wooden mold and careful hammered the rib to the correct shape.
I didn’t enlarge the holes for the grommets, I left them 9.5 mm and added a grommet that has an inside diameter of 6 mm for the pitot tubes.


Rib 12:
I didn’t enlarge the holes for the grommets, I left them 9.5 mm and added a grommet that has an inside diameter of 6 mm for the pitot tubes.

Rib 4:
I did not rivet the step ribs yet to make it easier to rotate the wing.
I didn’t enlarge the holes for the grommets, I left them 9.5 mm and added a grommet that has an inside diameter of 6 mm for the pitot tubes.
The step bend angle was riveted and I added a aluminium washer under the tail of the last rivet.
The red cable tie is a reminder to find a solution for the holes that not align, either I will add a aluminium washer under the tail or enlarge the hole for 4.8 mm rivet.


Rib 3:
I did not rivet the step ribs yet to make it easier to rotate the wing.
I didn’t enlarge the 2 holes for the pitot tubes, I left them 9.5 mm and added a grommet that has an inside diameter of 6 mm for the pitot tubes.
The third hole was enlarged to 12 mm for the #5 grommets of TAF for the electrical wires of the lights and pitot heat.


Rib 2:
I did not rivet the step ribs yet to make it easier to rotate the wing.
I didn’t enlarge the 2 holes for the pitot tubes, I left them 9.5 mm and added a grommet that has an inside diameter of 6 mm for the pitot tubes.
The third hole was enlarged to 12 mm for the #5 grommets of TAF for the electrical wires of the lights and pitot heat.
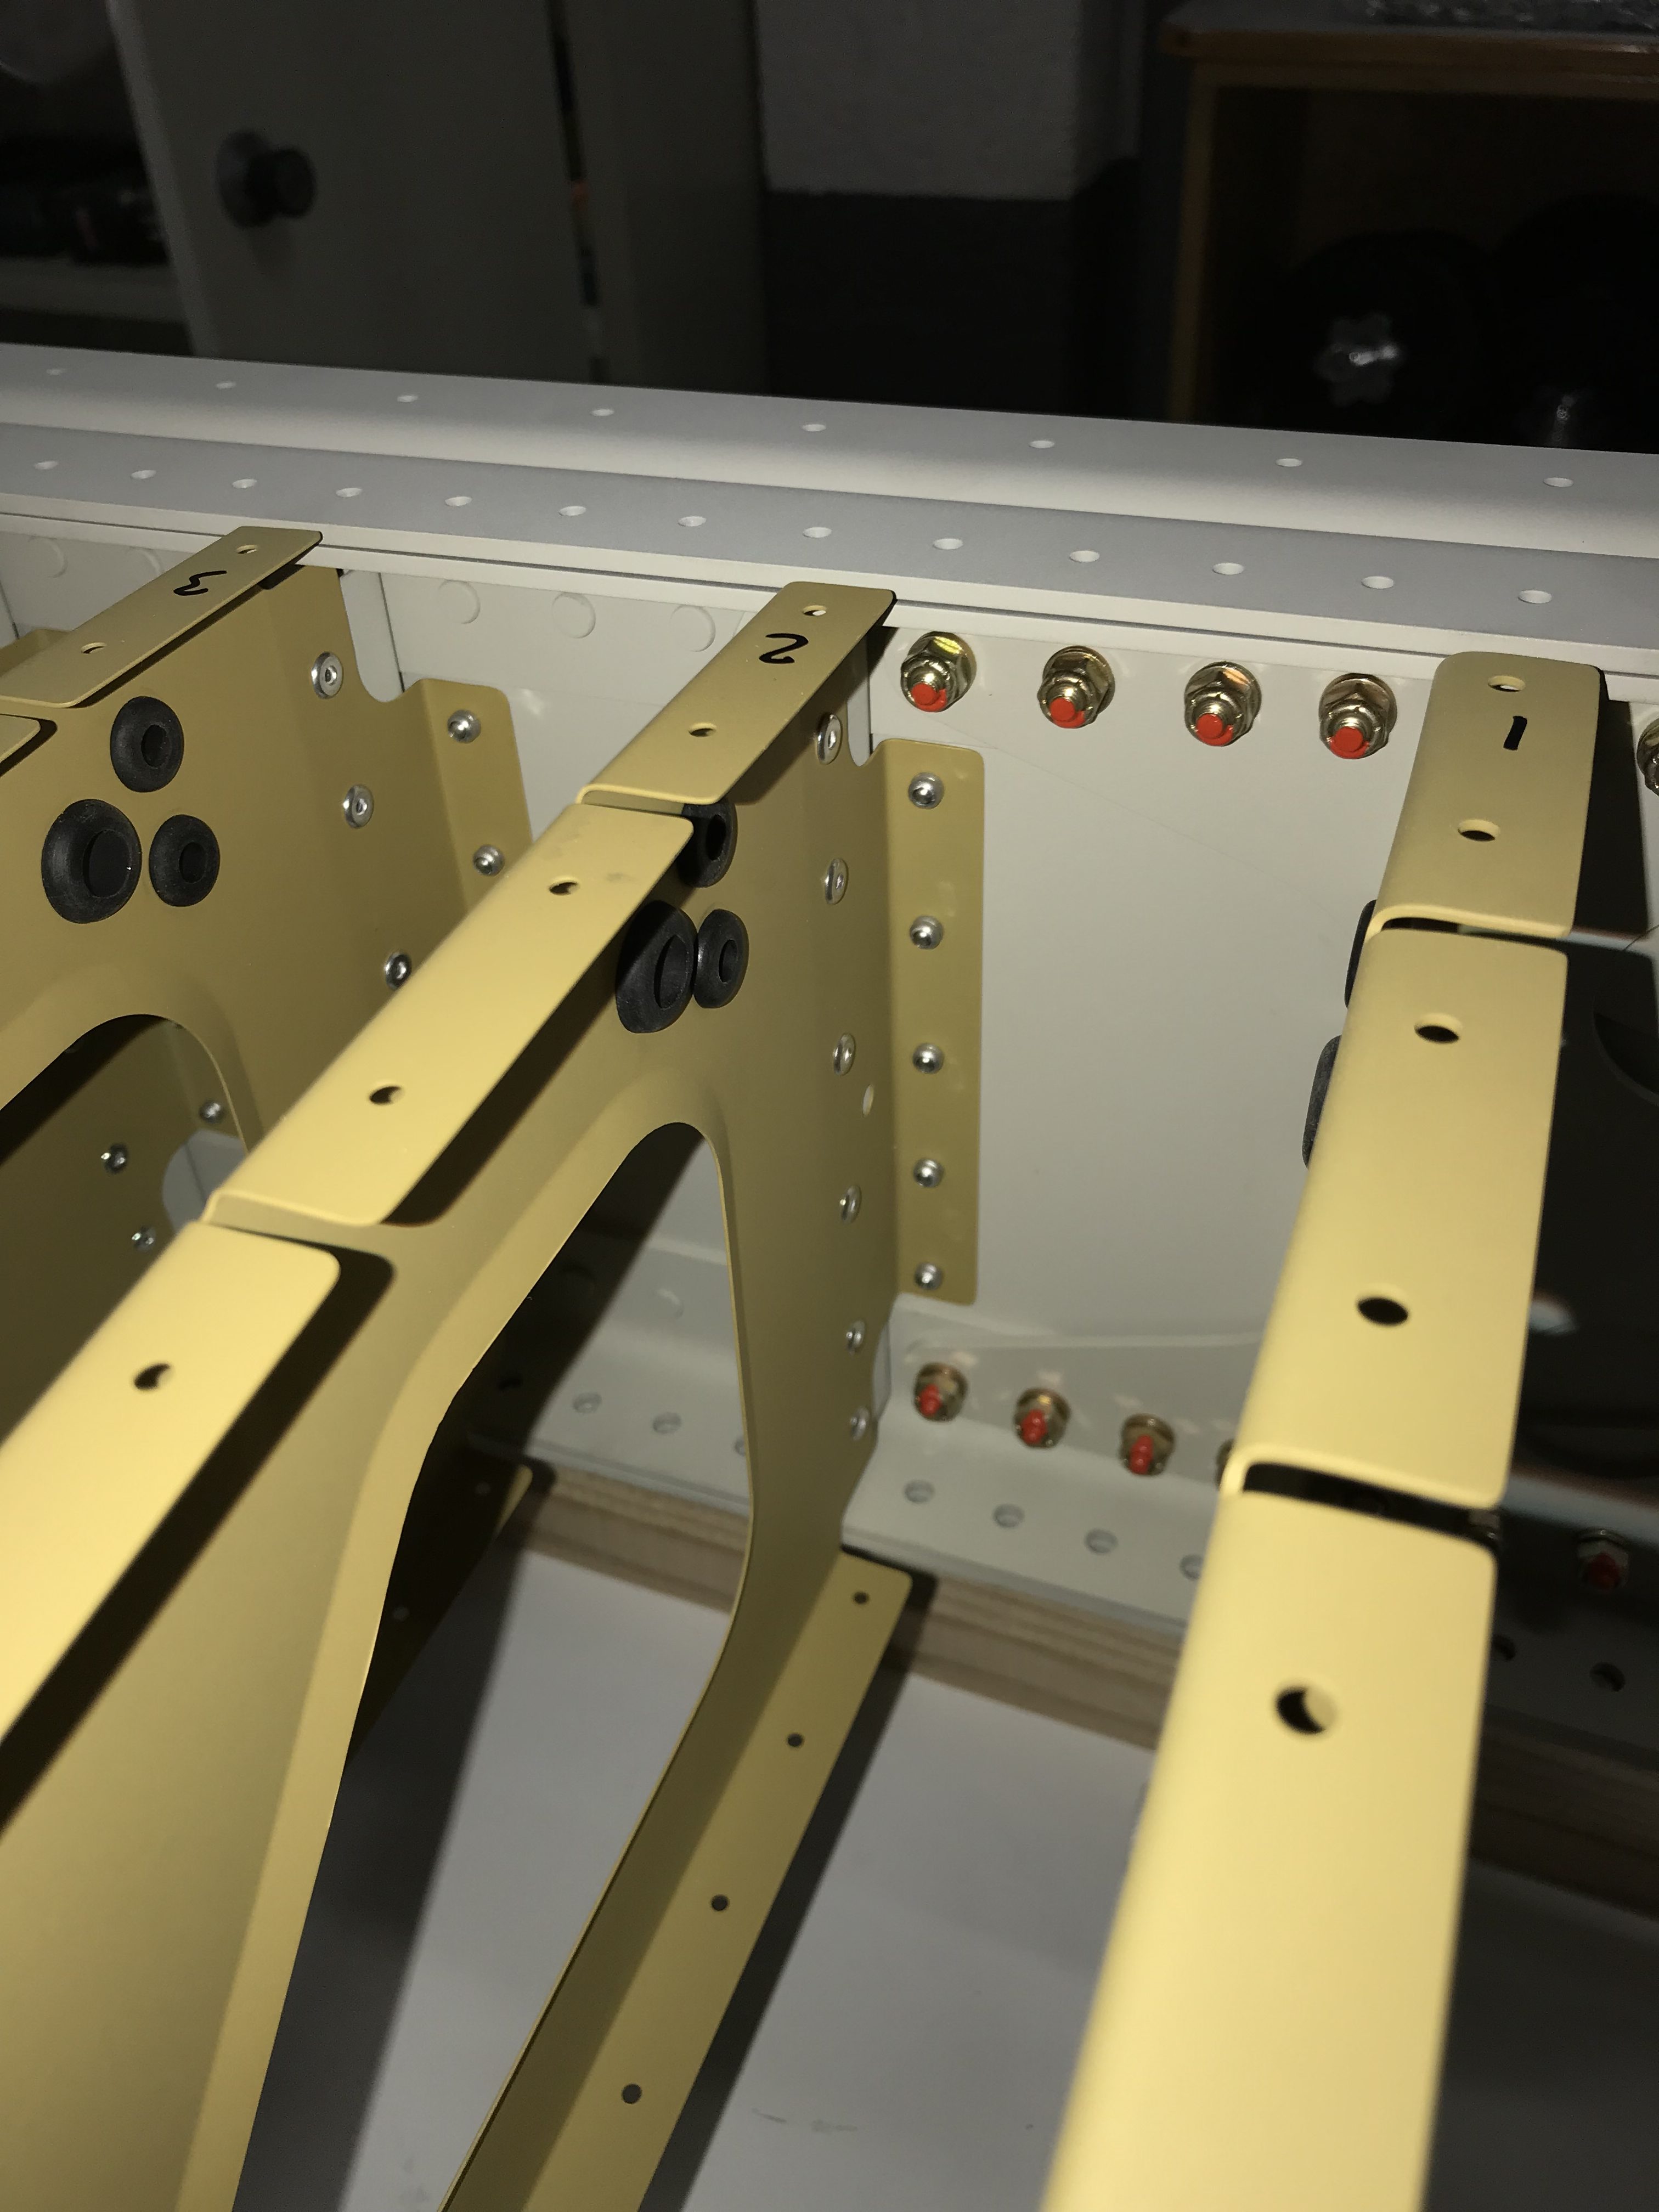

Rib 1:
I did not rivet the step ribs yet to make it easier to rotate the wing.
I didn’t enlarge the 2 holes for the pitot tubes, I left them 9.5 mm and added a grommet that has an inside diameter of 6 mm for the pitot tubes.
The third hole was enlarged to 12 mm for the #5 grommets of TAF for the electrical wires of the lights and pitot heat.
Todo: rivet and screw (and torque) to the main spar.

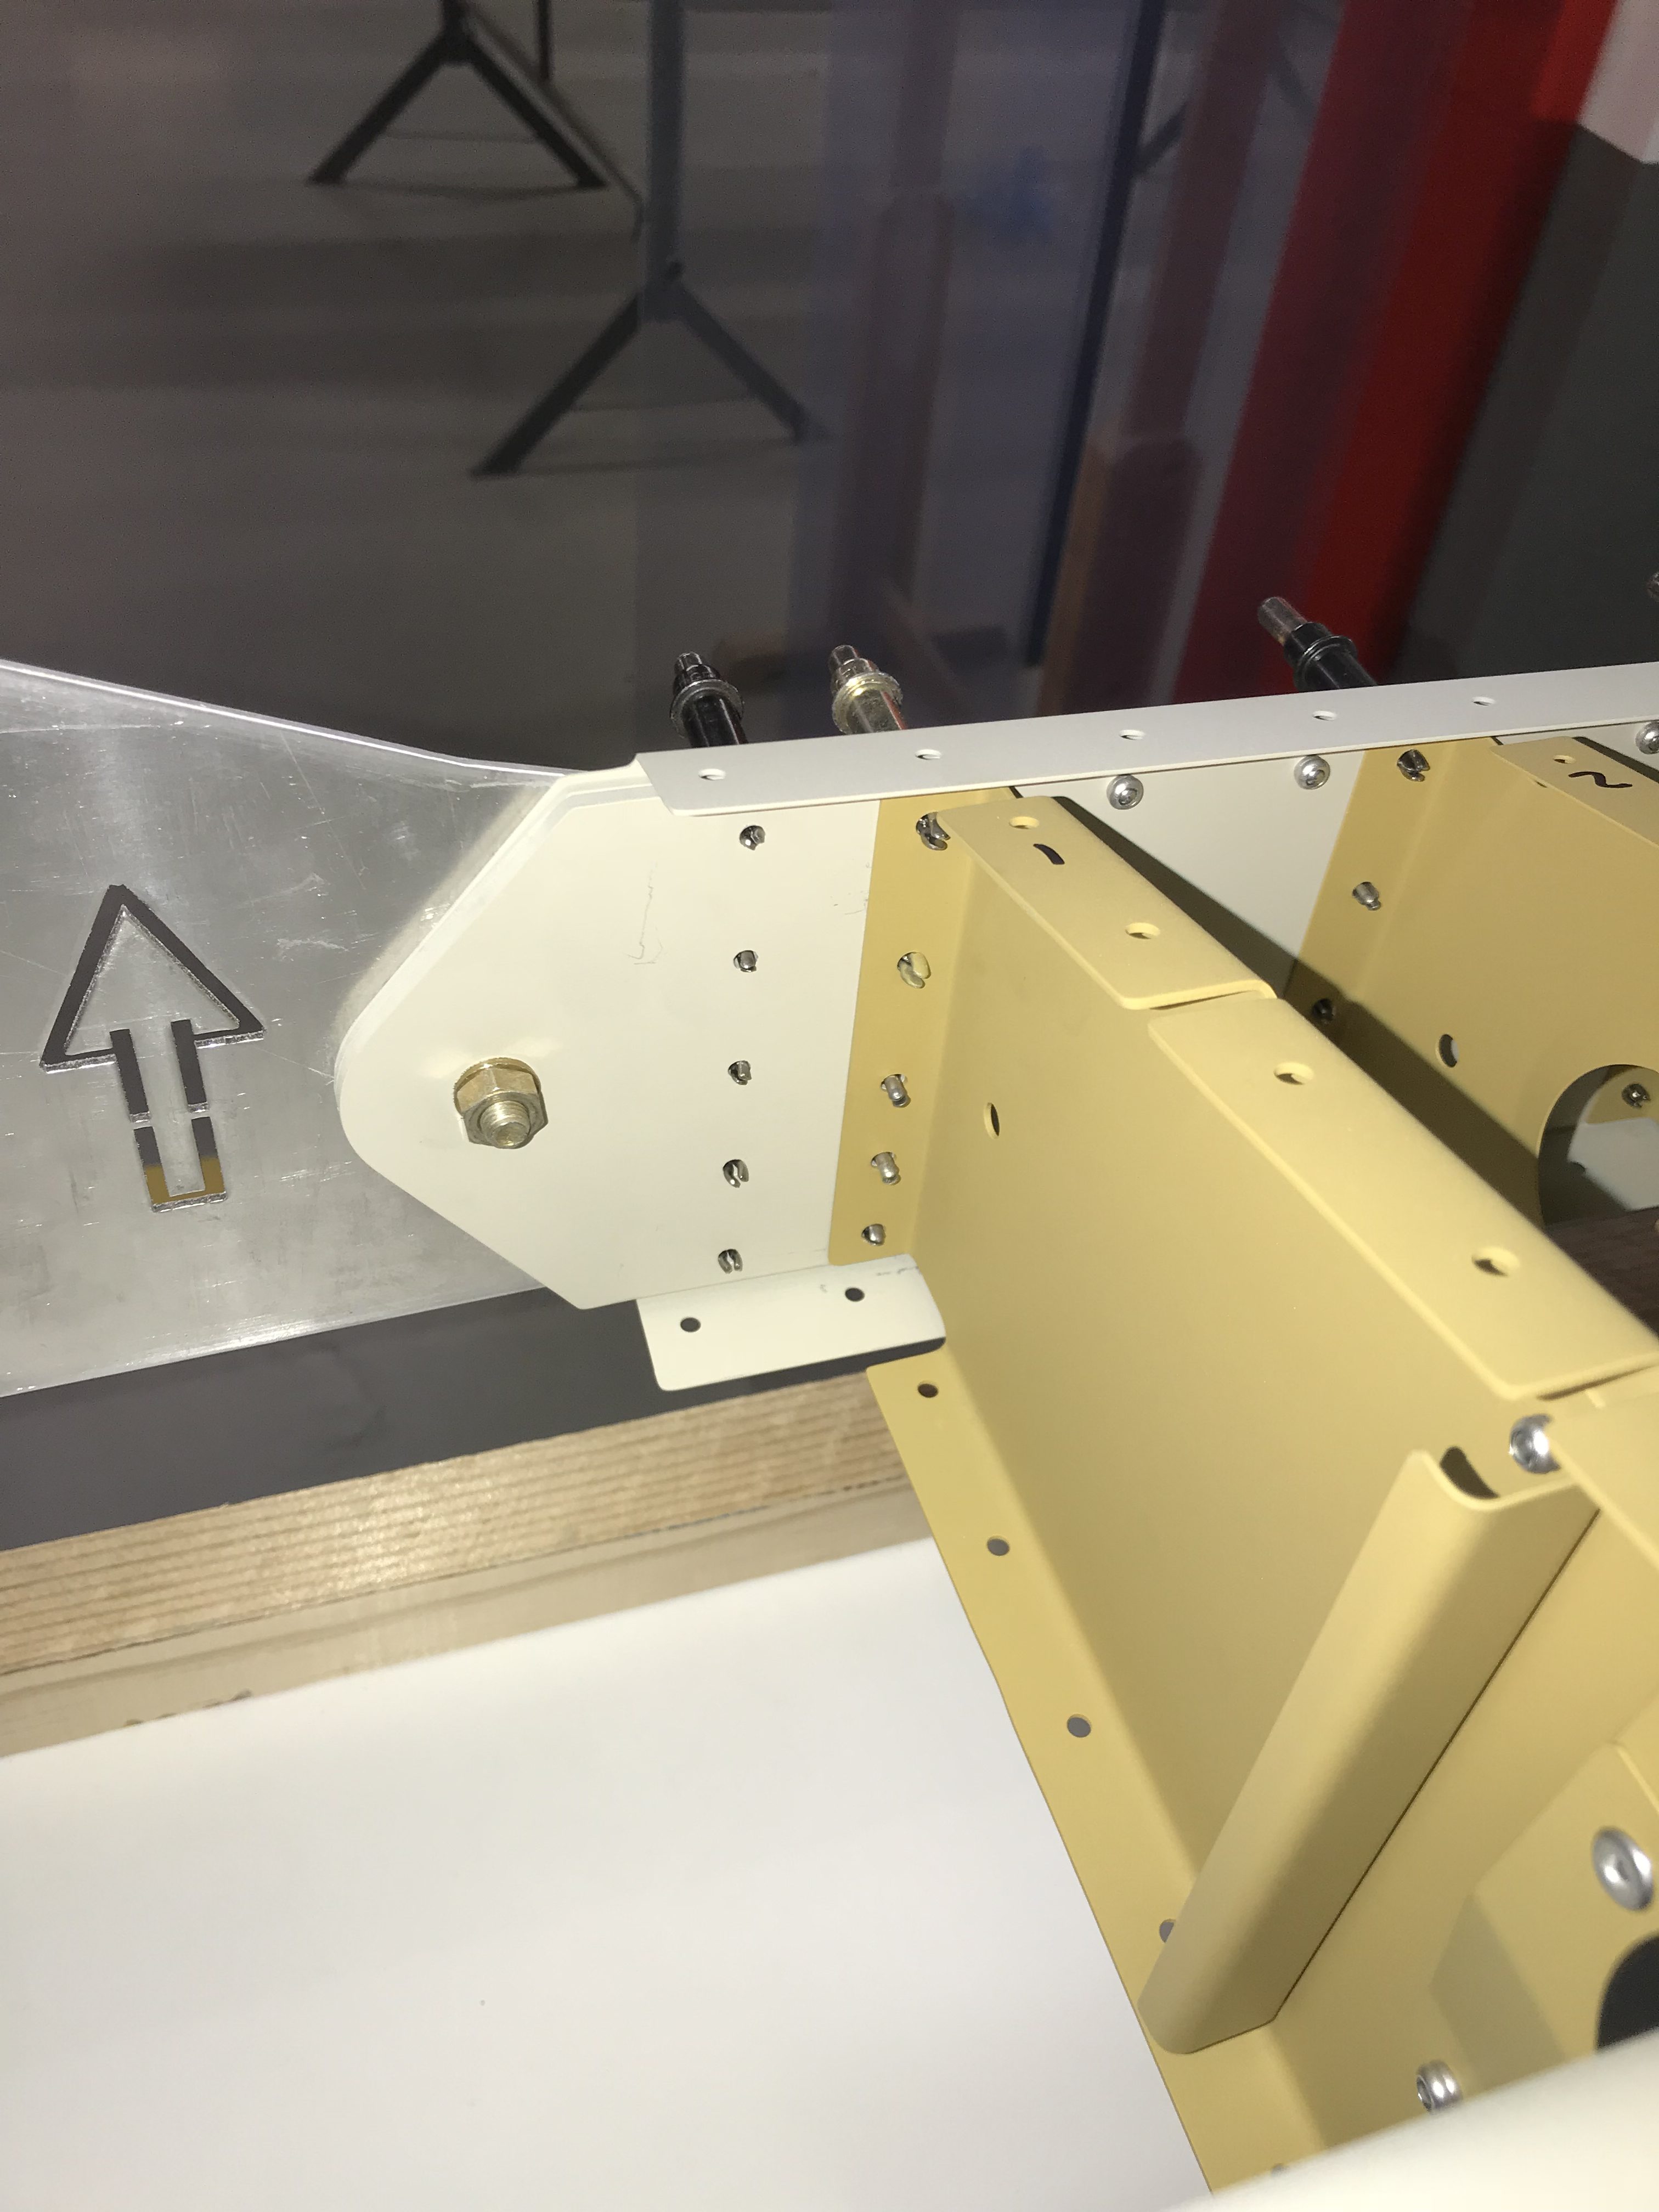
Next I riveted the rear spar:


Overview where the fuel tank will be mounted:

Overview where the step ribs will be mounted:
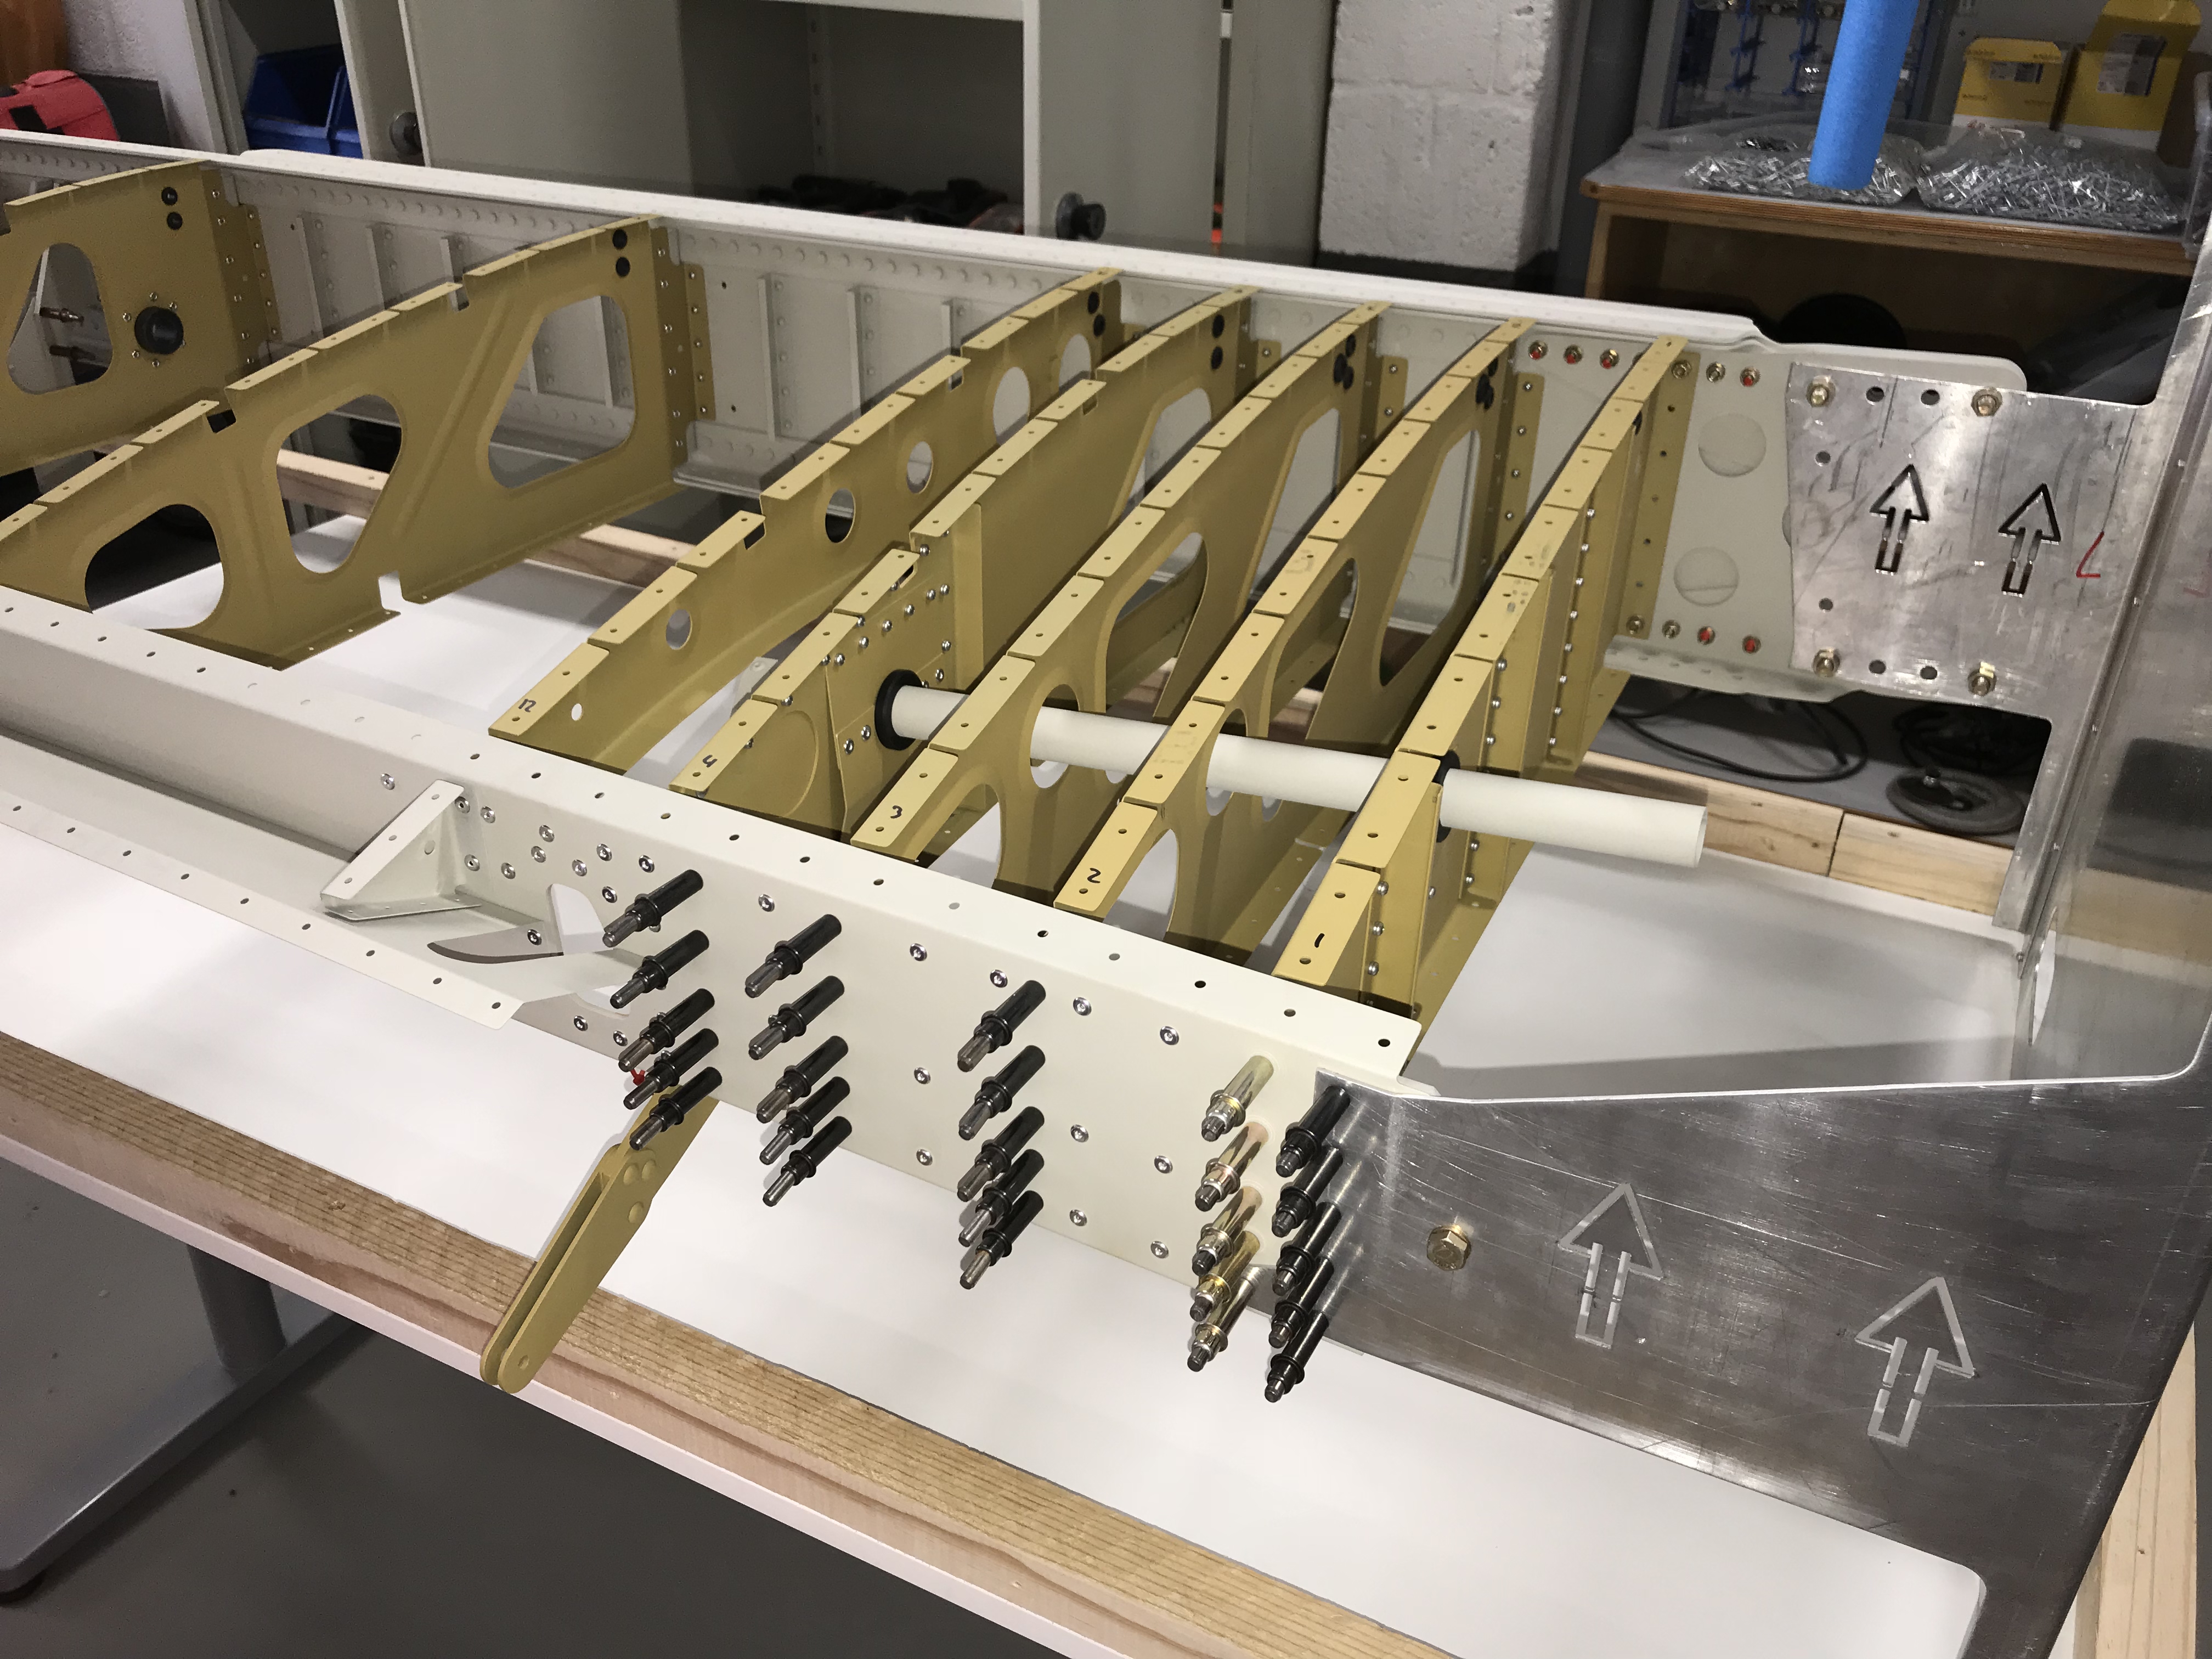
Total overview: