

TAF came with an answer about the right wing spar damage so I could continue with the fix and bolting the spar back together.
TAF did an analysis about the wing spar damage. The spar was still good to go and optional I could install a doubler. My technical counselor was also okay with it, he was only concerned about the corrosion protection which was gone because I removed the anodized layer when smoothened the dents.
Solution was the Alodine stick (very expensive) and a layer of epoxy primer:
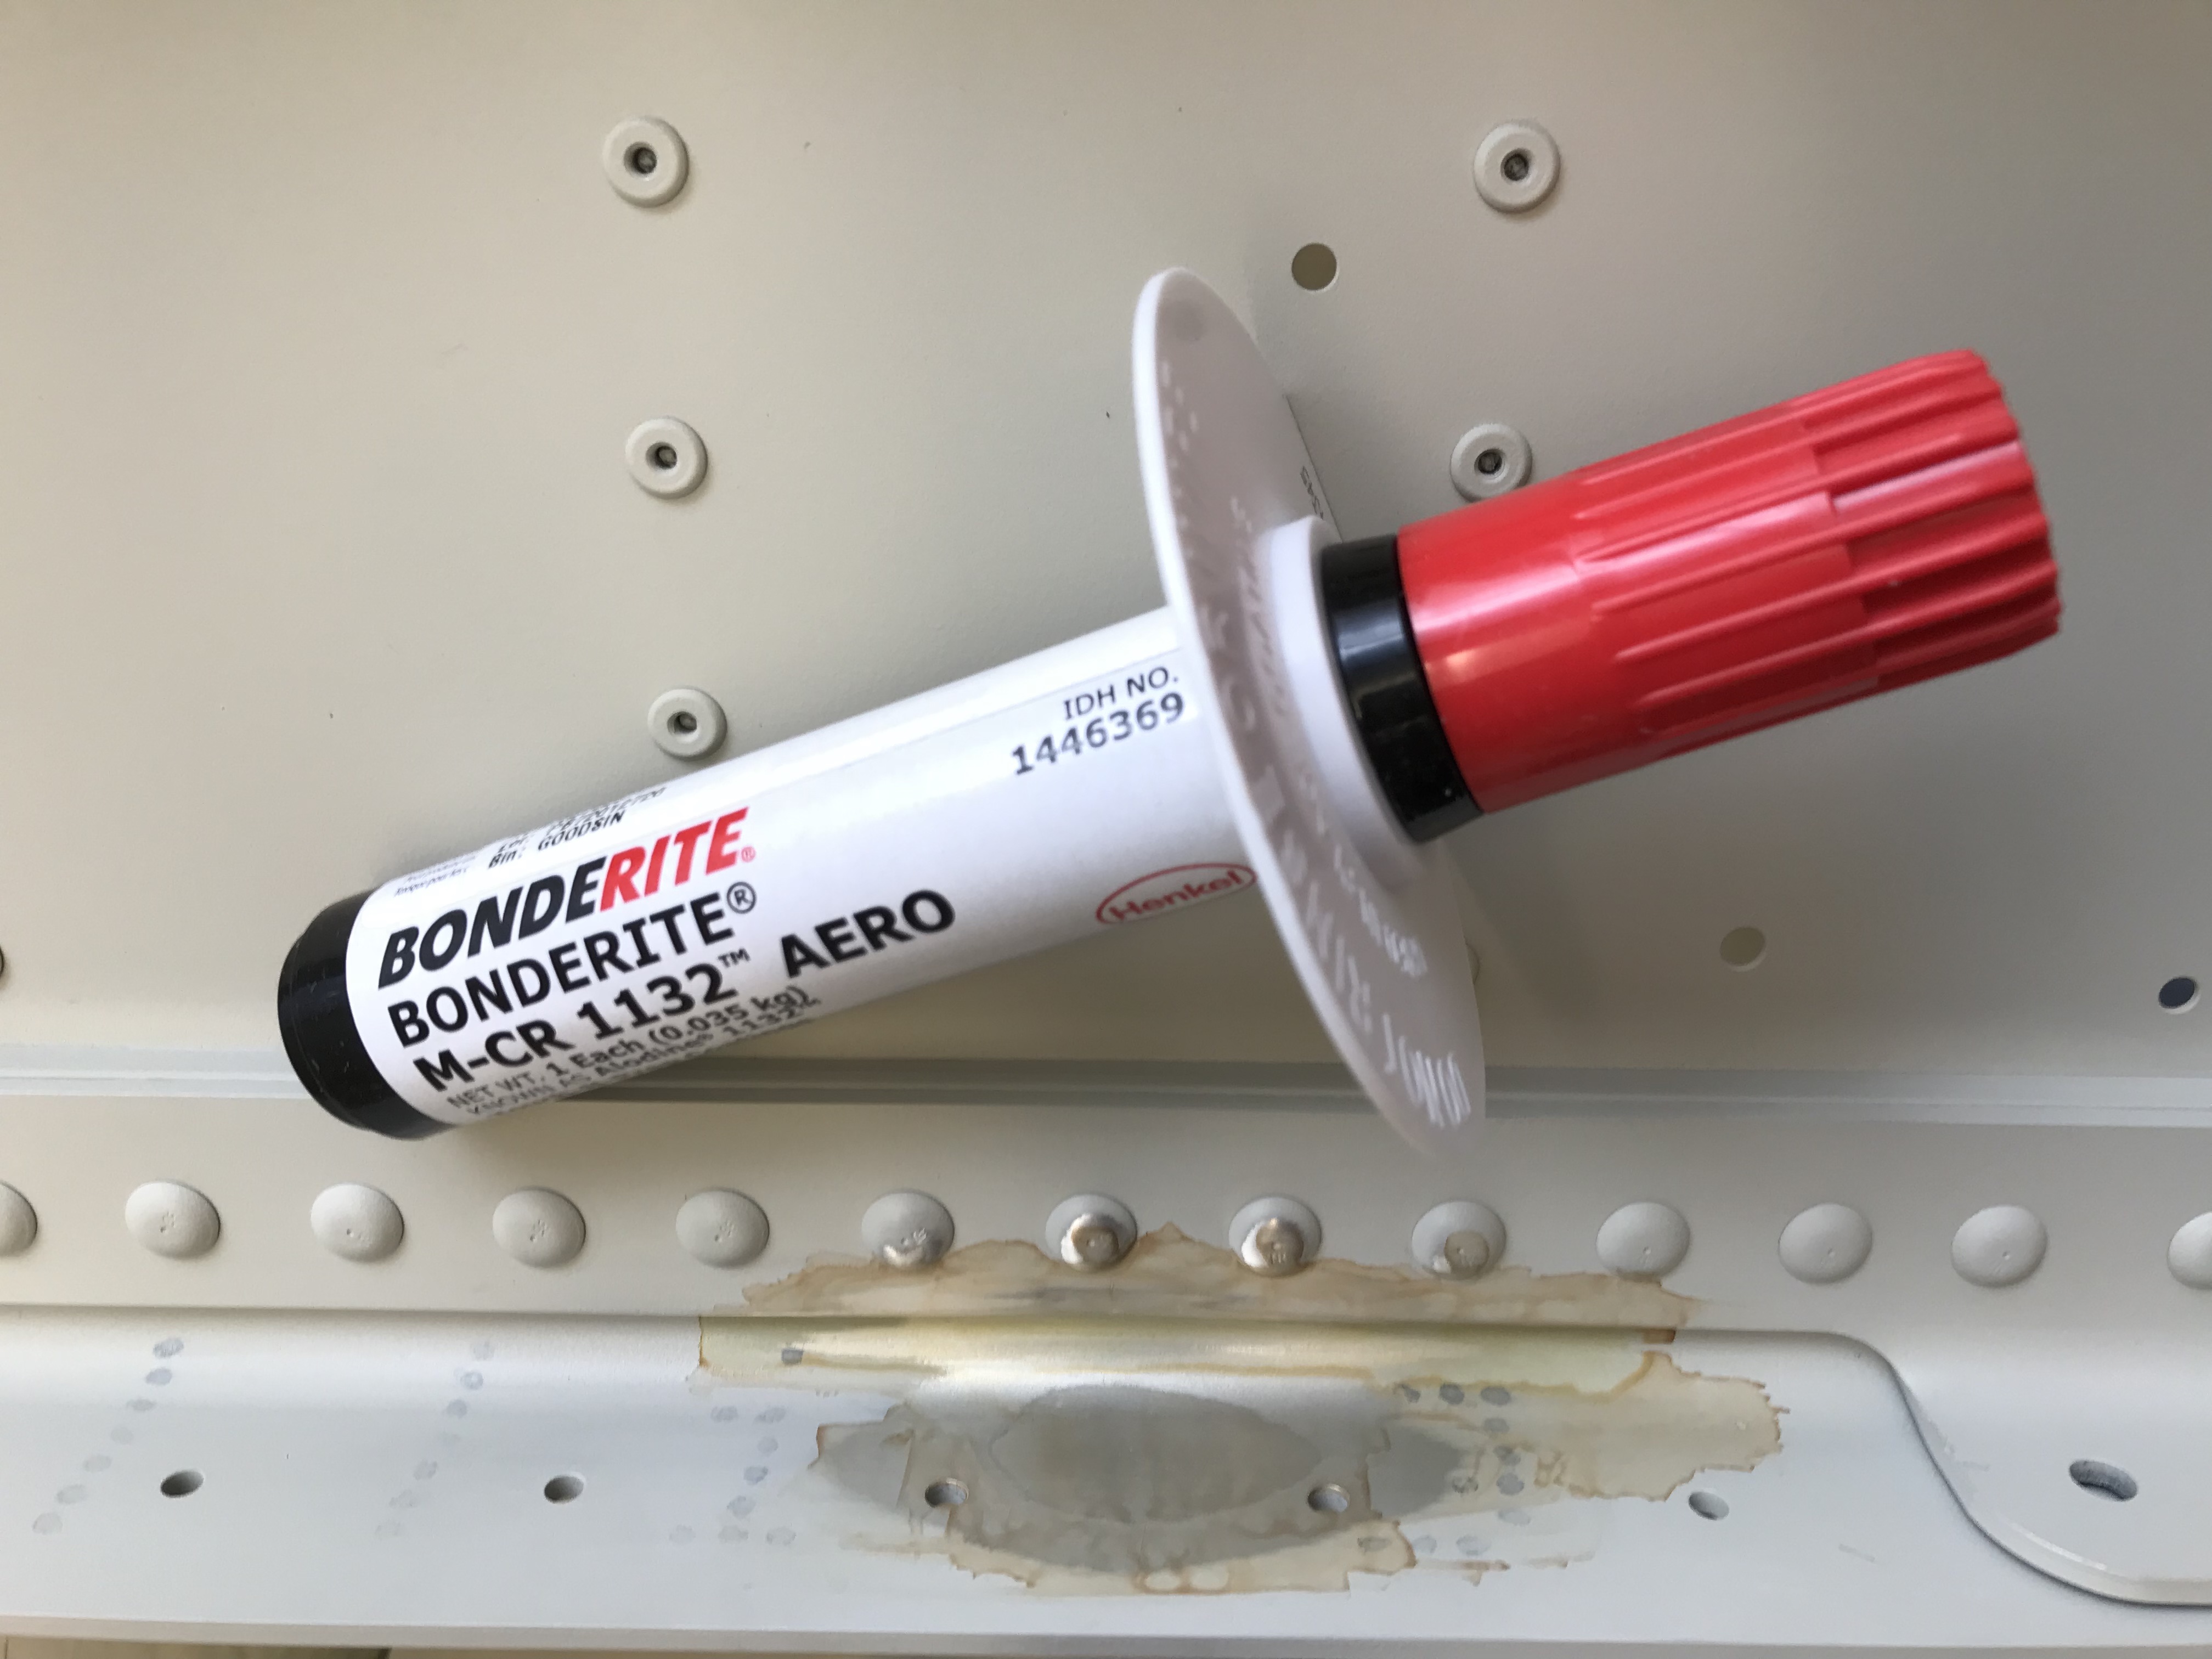
Photo after 2 layers of alodine:
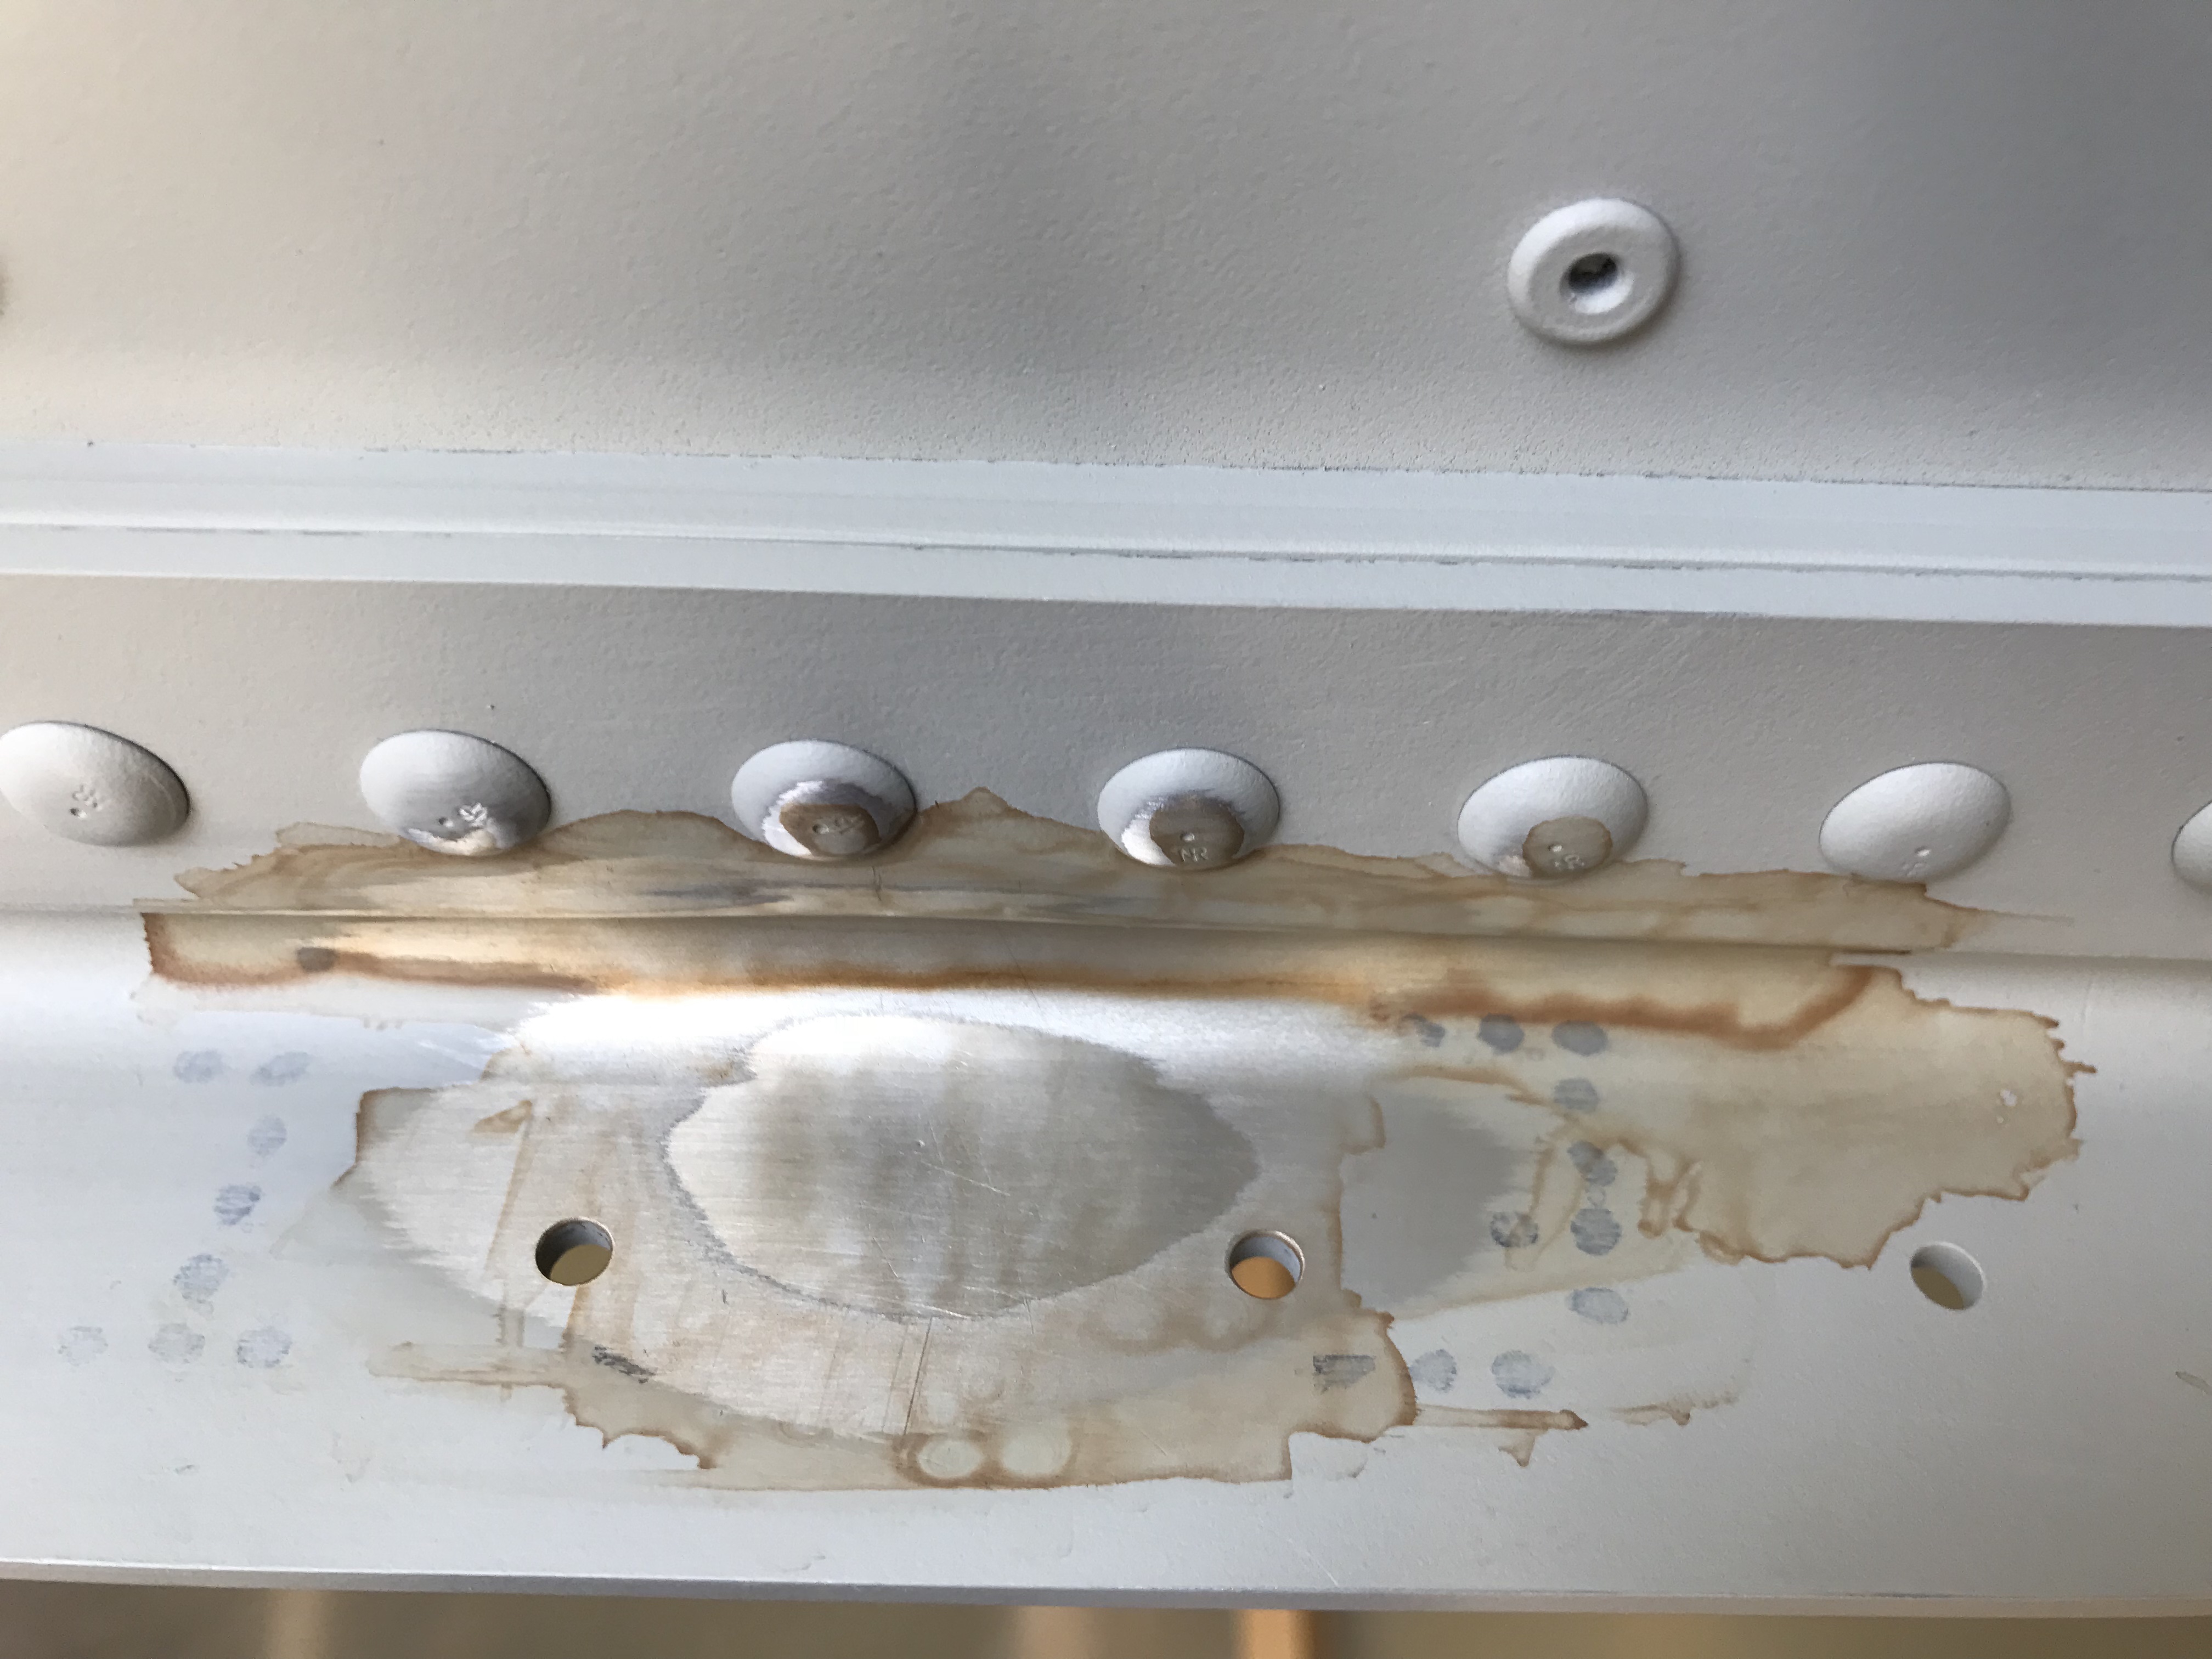
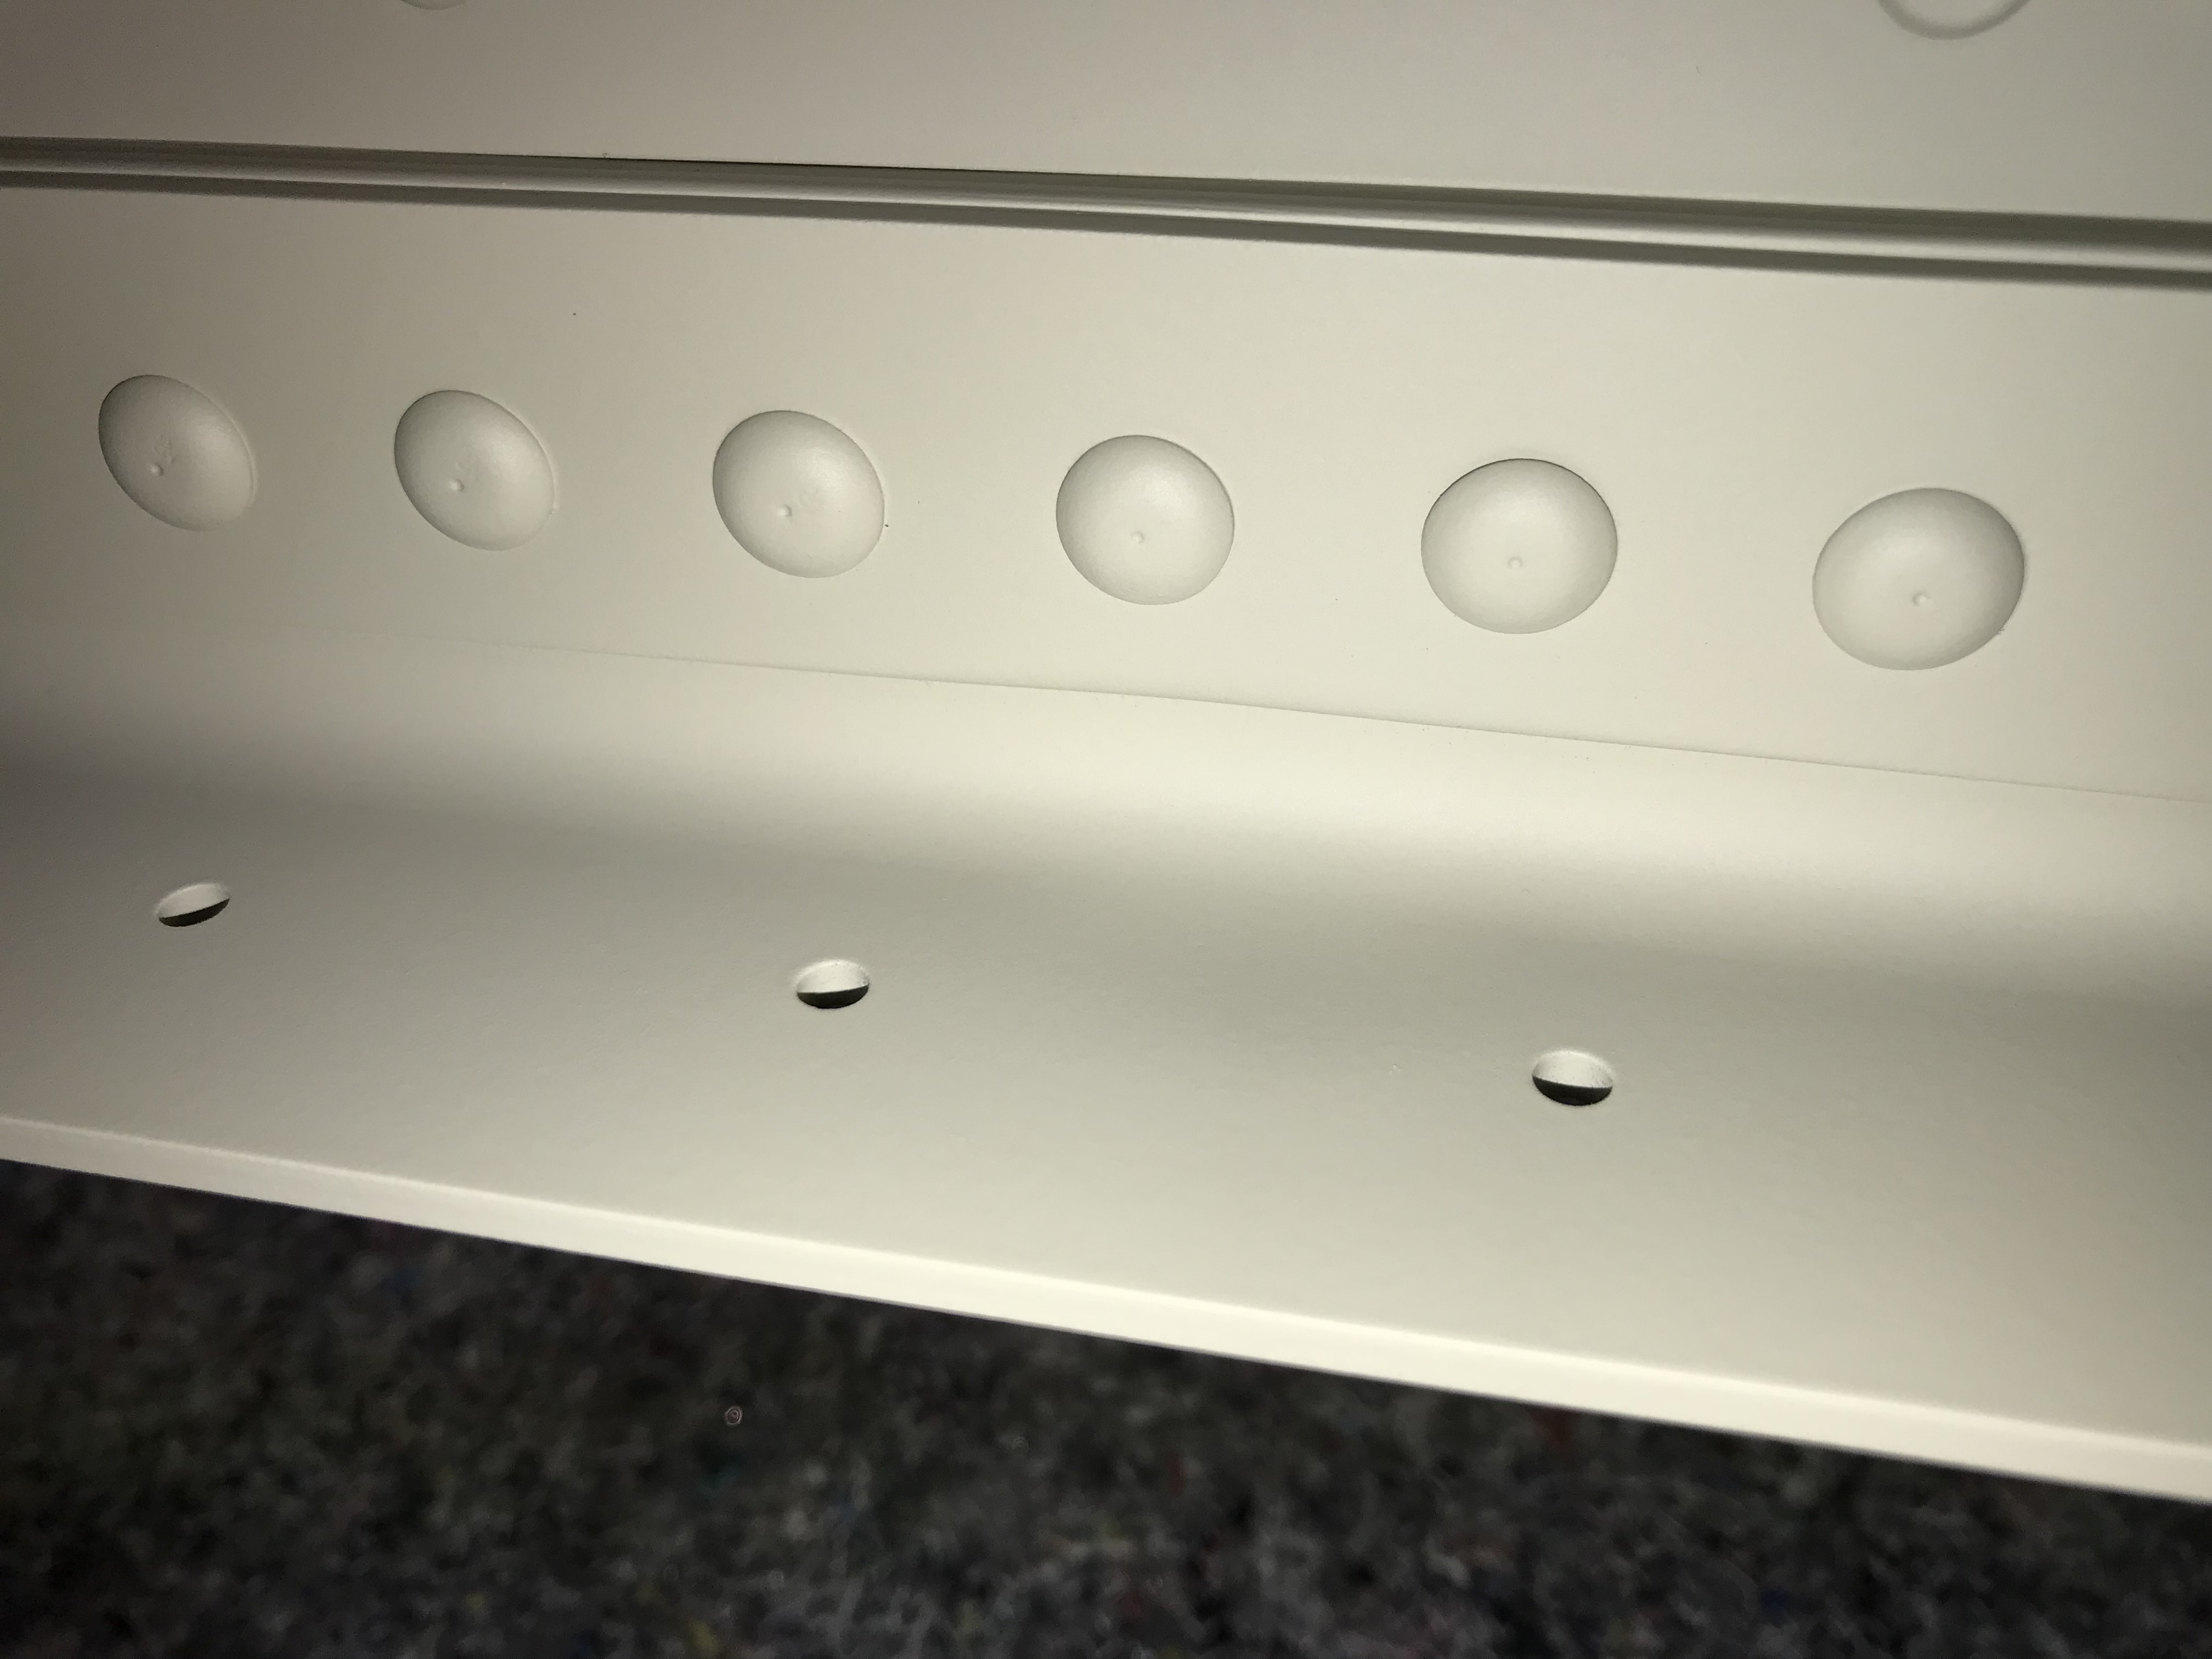
Photo after spraying the Mipa epoxy primer:
In one of the email conversations with TAF I noticed that TAF is also using the MIPA epoxy primer now.
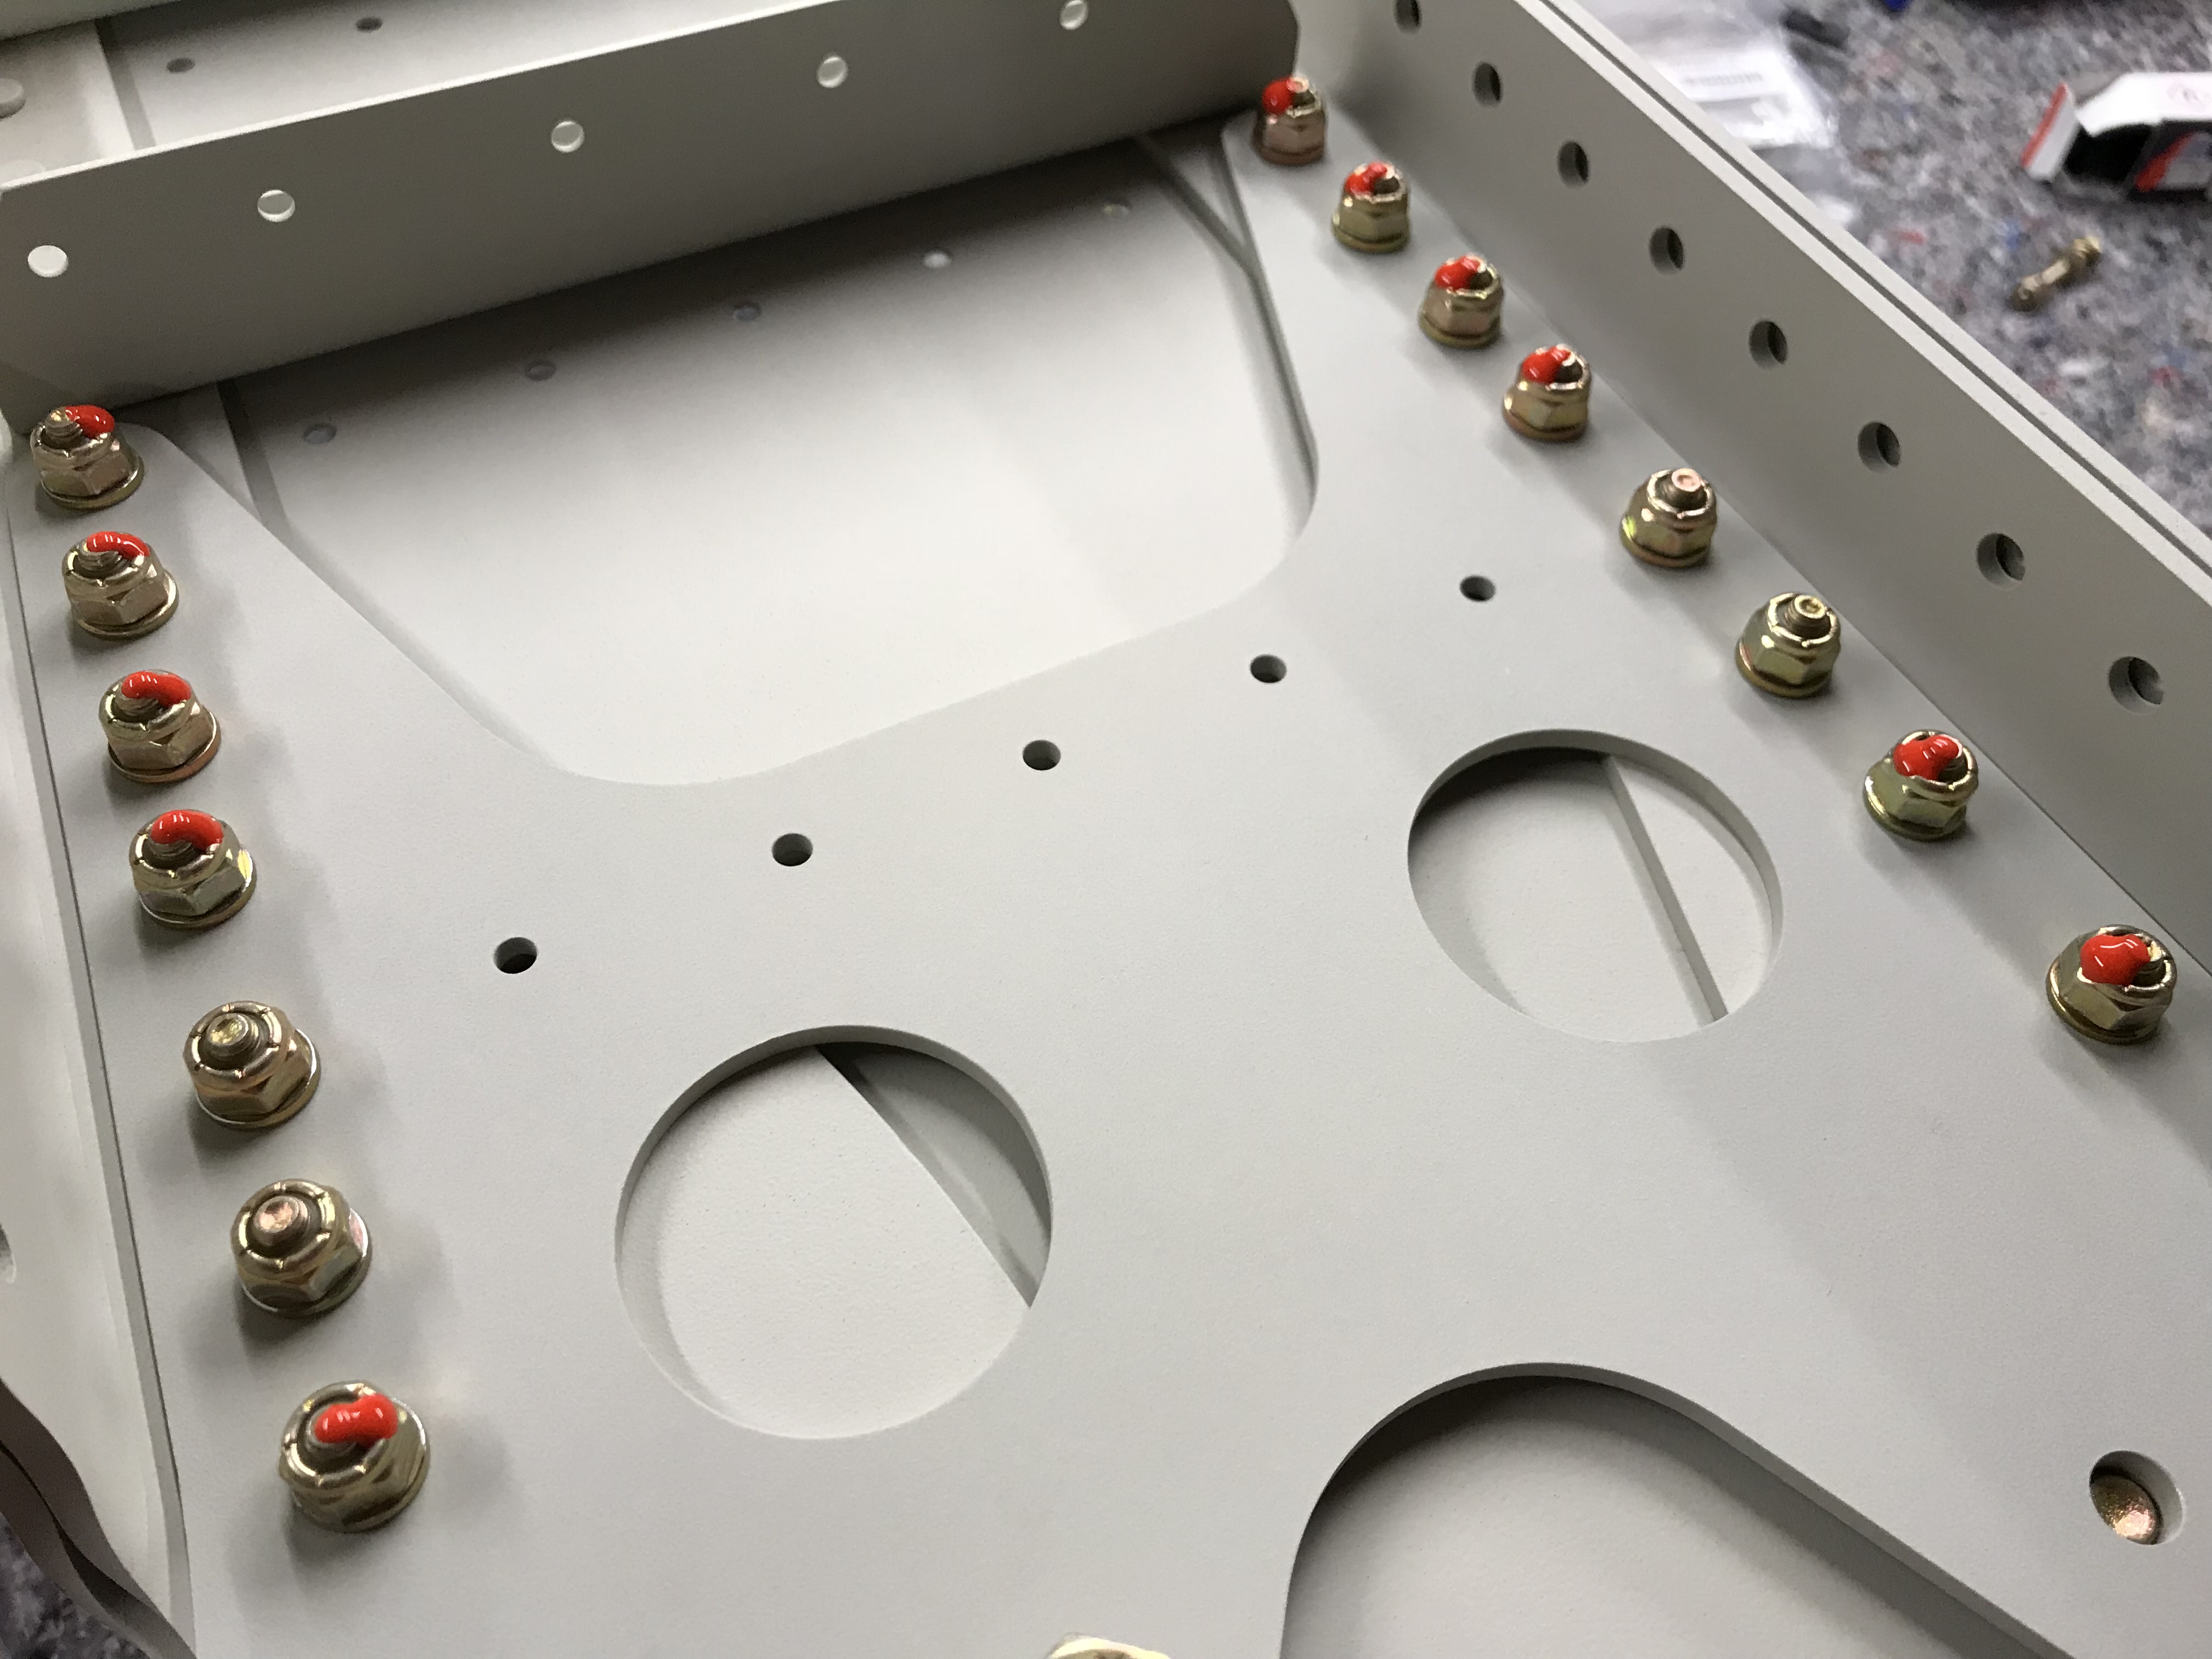
After the primer was dry I continued with bolting the pieces together.
The issue that still annoyed me was the fact that some of the holes for the AN3 bolts were sloppy. After a lot of investigation and approval of TAF I decided to use NAS bolts, these are stronger (160 KPSI vs 125 KPSI for AN3) and are a bit thicker.
I used a #11 reamer to make sure all holes became equal in size but for the majority of the holes, the reamer went straight through and no material was removed.
Here an photo of the used hardware, purchased via Aircraft Spruce:

I installed also the AN5 and AN6 bolts to make sure the pieces are perfectly bolted together. The AN5 didn’t go through but this will be fixed when the wings will be installed.
Under the head of the bolt goes a thin washer:

And a normal washer under the nut:

I made sure the rules for bolts and nuts were followed:
– No threads in material
– Min 1 / max 3 protruding threads
– No more than 3 washers
On the internet I found a manual of Cirrus and learned that the NAS6603 require a higher torque value, I torqued the nuts with 34 inch/lbs.
Thereafter I put some bolt torque marking:
The 4 remaining bolts without bolt torque marking are only temporary installed, later the will be used for rib 1 and the fuel tank brackets.